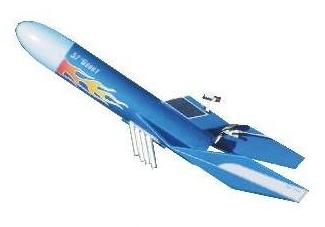
Excelsior Rocketry '57 Goony Plan
Excelsior Rocketry - '57 Goony {Plan}
Contributed by Steve Lindeman
| Construction Rating: | starstarstarstarstar |
| Flight Rating: | starstarstarstarstar_border |
| Overall Rating: | starstarstarstarstar |
| Published: | 2013-12-31 |
| Manufacturer: | Excelsior Rocketry |
| Style: | Goonybird |
Brief
The '57 Goony is unlike any of Excelsior Rocketry's other "Goony Retro-Bash" line of decal/plan sets in that it is not based on any of the Estes kits as the other offerings are. Instead this one gets its insperation from an automobile. Their ad says " The 57 GOONY is the rocket that says.. "Tailfins? I'll show you tailfins!".

Components
Components required for this build are:
1- '57 Goony Plan/Decal set from Excelsior Rocketry, $7.00 plus shipping
1- Estes Baby Bertha kit from local Hobby Lobby, $9.95 plus tax
8- 1/8" launch lugs for the Headers (I made my own)
Construction
Construction begins in the normal way for a Baby Bertha with the motor mount being assembled and installed per Estes instructions. The fins are next and require you to take one sheet of pre-cut fins from the Baby Bertha kit and after removing them, use the fin template from Excelsior Rocketry and mark the two fins to cut down. The other two fins will be left stock and glued at 90 degree angles to the edges of the two fins that are cut down. Next I covered all balsa parts with white paper for added strength and a flawless finish. The fins were then glued to opposite sides of the BT after it was marked as per Excelsior's instructions. After the fins are attached you again use one of Excelsior's templates to make the canopy section and attach it. Next was the most difficult step in the build and there are a couple of different ways to approach this. The easiest and most expensive way to build the Headers is to buy 8 additional launch lugs and then sand both ends of each at an angle as per Excelsiors instructions and then glue them together on a strip of balsa for mounting to the BT. I tried making my first set from a plastic straw but couldn't get them to stay on properly at first. The other Con: to that was that when I removed the tape from the Headers after painting the body the paint didn't stick to the plastic so I cut them off and re-did them. Tried to find paper straws around town but no luck. I ended up using some scrap paper and my 1/8" launch rod and rolling my own (cheapest way). The launch lug was he last thing glued on and then the NC and parachute were attached as per the Baby Bertha instructions. After that a 1/4 oz. of clay was added to the NC to help balance things out.
Finishing
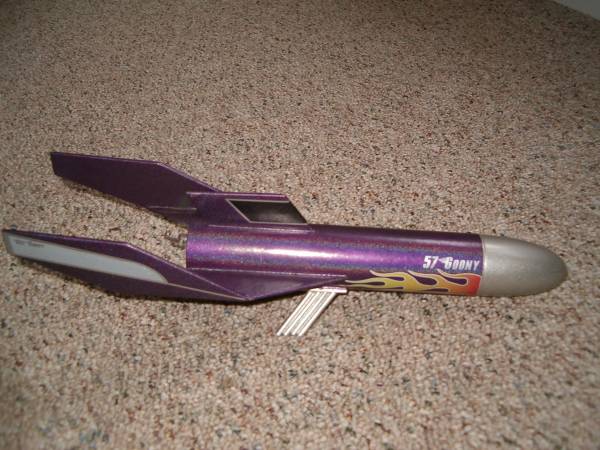
After standard priming and sanding entire rocket got a base coat of Krylon XMETALS Silver undercoat. NC was then removed and Headers were masked off. Rocket then received two coats of Krylon XMETALS Purple. After being allowed to dry overnight the decals were applied. These went on with no problems and really give this rocket a great look. After giving decals a day to set rocket was given two light coats of Dupli-Color Clear EFFEX to seal on decals and really make it sparkle.

'57 Goony Glamour Shot
Flight
Maiden flight was on an ever popular B6-4 with rocket weather cocking quite a bit and I surmize that is due to the way the fins are constructed. Pros: Rocket gets a lot of attention and comments when I take it to club meets and out to the flight line. Cons: None (other than it flies like a Goony).

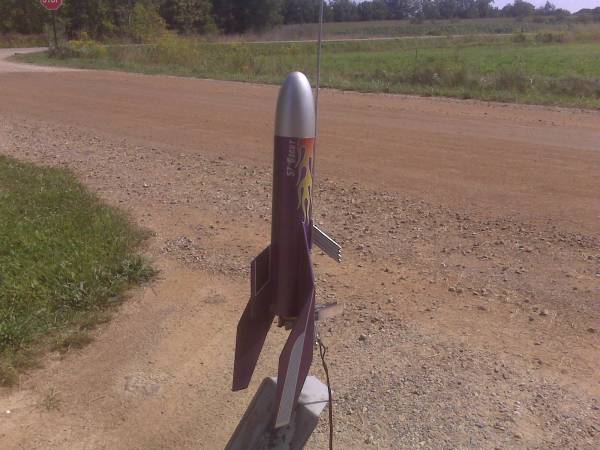
'57 Goony on the pad

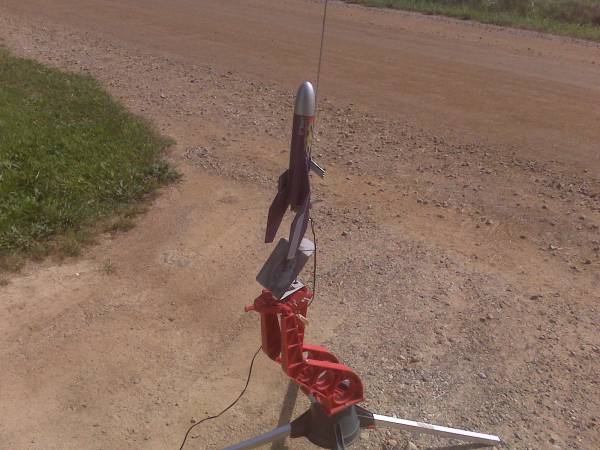
'57 Goony in 5...4...3...
Recovery
Parachute deployed on cue and recovery was made in neighbors field with no damage. All in all, a beautiful flight.
Summary
This was Baby Bertha kit-bash #7 for me and a real head-turnner at the field. Always generates comments from both young and old alike. Most common are; "Is that a real rocket and does it fly" to "That's so cool looking".
Other Reviews
- Excelsior Rocketry '57 Goony By Lester Anderson (August 2, 2016)
A kitbash modification of an Estes Baby Bertha kit. It looks like a sci-fi version of a 1957 Chevy Bel-Air. Components The usual standard of Estes parts found in the Baby Bertha kit. /h2 Pretty easy build. You end up cutting 2 of the stock fins to make the primary wings on the model. The "exhaust stacks" need 8 launch lugs to fabricate them. The hardest part is ...
Related External Links
 |
 |
Flights
Sponsored Ads
 |
 |


