Thrustline Aerospace Tribute II
Thrustline Aerospace - Tribute II {Kit}
Contributed by Lance Souther
| Construction Rating: | starstarstarstarstar_border |
| Flight Rating: | starstarstarstarstar |
| Overall Rating: | starstarstarstarstar |
| Manufacturer: | Thrustline Aerospace |

Brief:
The Thrustline Aerospace Tribute II is a three engine cluster rocket. This
company has put out some high quality Estes clone rockets that I was tempted to
get, but saw the Tribute II on the site and said to myself that is one cool
looking rocket. I held off on the clones for now to give this one a try. I am
glad I did.
Construction:
The rocket arrived in the mail less than four days after ordering, which was
very impressive. The kit was the typical bag packaging. Instructions are pretty
good and even has photos to show you the steps. All parts were there and
intact, including two high quality balsa sheets for the fin layouts and one
balsa nose cone. The cone did have a fairly good notch in it near the top which
I had to glue and sand to make it smooth. Kit included a high quality mylar
chute with Kevlar®
shroud lines that were plenty long to give the chute that nice, full, open
look. The engine mounts were also made of balsa, which are precut for the
engine tubes. I broke one in two in the process as the area between the engine
tube and body tube is very narrow--less than 1/8 inch on my piece. There were
no worries though as it actually made it easier to get the mounts on the tubes.
I just used a little extra glue, let it dry, and slid it in the main tube. The
Kevlar®
shock cord is wrapped and glued around the engine tubes and mount in this
process also. Next, was cutting the fins. The kit includes some nice thick
paper for the fin layouts which was very helpful in the tracing. Typical
cutting of the fins was finished and I sanded, sealed, and painted them before
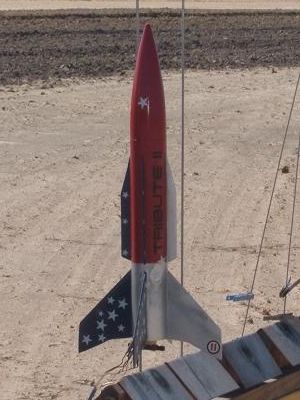
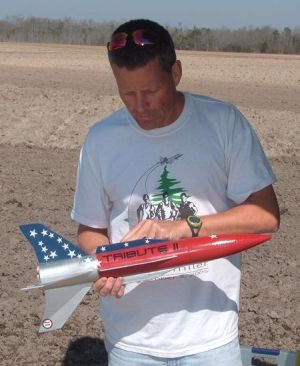
I put them on the rocket. I wanted to try to get as close to the original paint
scheme as possible and this was the easiest choice for me. If you do this make
sure you mask off on the body tube where the fins are going to go, then it will
make them stick more secure on the rocket. Also the kit comes with BBs you put
in the nose cone to add weight. The instructions suggest to use a drill bit to
make the holes but I found using a inch long screw and a pushing it up into the
nose cone worked just fine.

Finishing:
After I painted the rocket, I was ready for the decals. The decals don't come
treated and Microscale Decal is recommended. I didn't have any so I just
sprayed the sheet with polyurethane and let it dry completely. It worked just
fine. Overall it took me about 2 weeks of working off and on to finalize the
kit for flight.
Construction Rating: 4 out of 5
Flight:
The recommended engines are two B6-2s, B6-4s, or C6-5s, with one C11-5 or
D12-5. I went for the full glory for it's first flights using two C6-5s and one
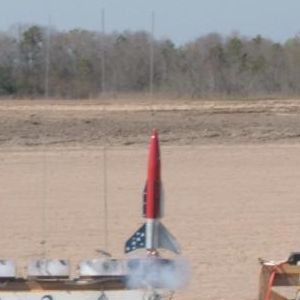
D12-5. I launched it at the monthly Southeast Alabama Rocketry Society (SEARS)
launch, utilizing the large field they have to launch at. I nearly wasn't able
to launch it as I knocked a fin off prepping it. I was able to bum some CA and
do an on the spot fix and had it ready to launch shortly thereafter. I must say
this bird flys like a charm. It got out of there quick on that engine combo and
went nearly out of site. I would say it was at least 1200 feet if not more.

Recovery:
A 24" blue mylar chute seemed just about right as it didn't drift too
much, but I did worry about it getting caught up in a thermal and really
drifting. Any smaller and it would come down too fast. I also purchased a
24" nylon chute which I might try next time.
The chute deployed right at apogee. It must have taken a good 5 minutes to come back to the ground. I was able to catch it after running it down about 200 yards from the pad. I flew it again a couple hours later and it was pretty much a carbon copy of the first flight. I wasn't able to catch it the second time though and the fin I had "fixed" earlier broke off. It was an easy fix again though.
Flight Rating: 5 out of 5
Overall Rating: 5 out of 5
 |
 |
Flights
Sponsored Ads
 |
 |


