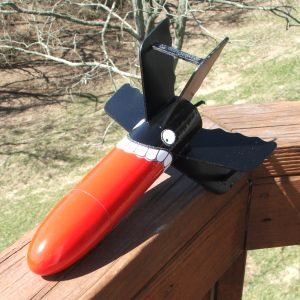
Brief:
I shortened the body tube to the Goonybird standard 5" (BT-60R) and switched from 13mm power to 18mm power.
Modifications:
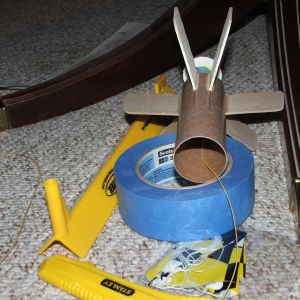
The main body tube from the Baby Bertha could be left as is for this project, if you're not a man who is serious about his Goonies. I chose to keep things proportional and shortened the body tube to the Goony-traditional 5", a feat I accomplished by wrapping a nice, straight line of masking tape around the tube then running a hobby knife along the tape until the blade eventually cut through. If you're planning on using the 18mm motor mount, then this leaves little room in the body tube for recovery equipment. However, the resulting rocket is light enough to employ nose blow recovery. I initially planned to use a small chute and cut away a section of the nose cone so that I could tuck it up inside. This method was a failure, which led to the nose blow experience, but steps could easily be taken to make the chute or streamer deploy more reliably.
Construction:
The parts list:
- 1 Estes Baby Bertha kit
- 3/32" balsa fin stock
- 1/8" sewing elastic shock cord (24")
- 24" Kevlar® shock cord
Finishing:
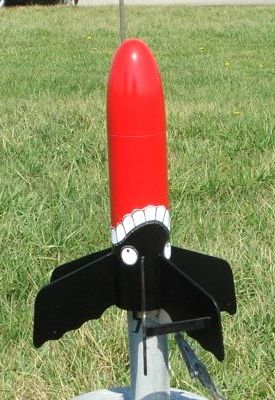
Finishing wasn't all that bad once I figured out the masking. To get the giant tongue effect, it is necessary to mask the rocket after applying the red. However, the contours of the mask need to follow the curve of the "teeth" stickers. I first painted the rocket red using Valspar Cherry Gloss. After the red had cured, I printed off a scan of the stickers on a sheet of regular paper, cut the "teeth" pattern out, and wrapped it around the rocket in the spot where I planned to put the actual sticker when I printed it. I used masking tape to cover everything that needed to remain red, then sprayed the rear of the rocket with Valspar gloss black. I printed the stickers on label paper and after cutting them out, they fit perfectly. Except for the fact that I left off some of the smaller stickers, you'd be hard pressed to tell my faux-Goony from a real one.
Flight:
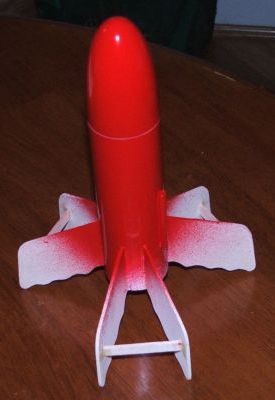
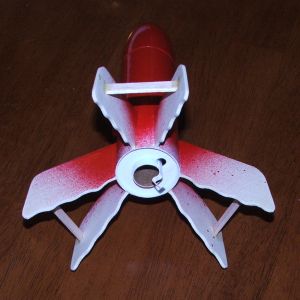
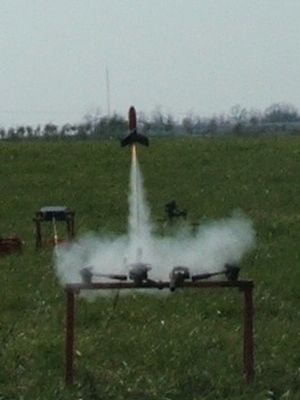
With the 18mm power, Goonies can be funny in flight. (Funny as in unstable, not funny like Les Nesman watching turkeys come out of a helicopter.) With some of the designs, nose weight is necessary, but the Sky Shriek has enough fin area to make balance things out. I used a B6-4 for the first flight and it was pretty much as you'd expect the flight of a relatively small, draggy rocket on a B6-4 to be. Second flight was on a C6-5 and while it didn't go out of sight, it was a pretty tiny dot in the sky when the ejection charge fired. The weathercock was also fairly extreme, but this was to be expected due to the amount of fin area versus the amount of wind we had on this particular Sunday.
Recovery:
Recovery was iffy at best but as it turned out, it didn't matter all that much. Cutting the body tube back to "Goony-stock" length leaves very little room for recovery materials so I improvised. Before the first flight, I cut away all of the plastic that wasn't needed in the base of the nose cone and used the resulting space to store the 8" parachute. When the ejection charge fired, the chute stayed stuck in the compartment and the rocket fell gently to earth anyway. Since it had worked so well the first time, I chose to go the same route for the C6-5 flight with similar results. I can't say that I'd consider going without a chute or streamer if I was flying near asphalt or hard-baked earth, but the fields were green and weed choked in early April and the only hard landing around would have been the path. I've hit that often enough under chute to know that you still wind up with road rash.
Summary:
PROS:
- Hey, it's a Goony.
- Improved performance with 18mm engines.
CONS:
- Lack of room for a recovery system.
 |
 |
Flights
Sponsored Ads
 |
 |


