| Manufacturer: | Scratch |
Dark Comet
by Mark Schrader
 This model started out as an Estes Maxi-Alpha
III. I thought this would be a fun build, buy when I saw the thin plastic fins,
my first thought was that these need to be reversed or they'll need of constant
repair. I was also building my Estes Renegade at the time and thought that side
pods on the fin tips would be a nice touch. And as long as I'm add it, why not
two boosters along side and add a Silver Comet nose cone for a star fighter
look... Well, you get the picture.
Unfortunately, it's been a long winter and I was left with the unfortunate dilemma of finishing my taxes or painting my RMR Descon rocket. Since Descon can't send me to jail, I opted for a naked rocket for now.
The premise of this rocket is that a warlike race of aliens from a distant star system has pirated a Silver Comet. Finding its navigation and sensor systems superior to their own technology, they keep those sensors but modify both the weapons and propulsion systems. (For the future paint scheme, picture a battered Silver Comet up front, fading to a blackish green-metallic with weld lines indicating the alien modifications.)
Construction
This went together mainly according to the Maxi-Alpha instructions. To reverse the fin direction, simply reverse the two fin rings. The only modification I made to the body of the rocket was the addition of a length of an 18 inch length of 1000 pound test braided Kevlar (tm) cord glued to the motor mount tube to which I attached about six feet of ¼ inch sewing elastic.
The side boosters are 10 inch BT-55 with Black Brant-style nose cones and they feature 18mm motor mounts. Each booster has three ¼ inch vent holes near the top of the booster at the nose cone shoulder.
To line up the boosters and fins, I used VCP to create a five-fin wrap with the correct geometry. I used a card stock stand off for the boosters to avoid contact with the plastic fin rings. They are attached with wood glue and generous fillets.
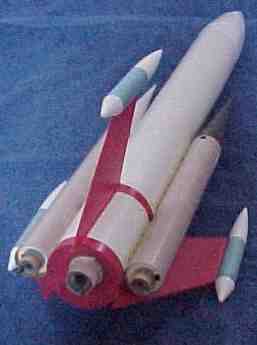
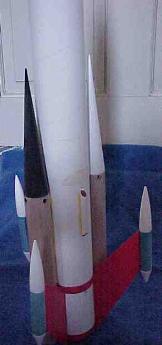
The fin tip pods are made from a Viking-style nose cone, a conical nose cone, and an Estes 18mm motor mount tube similar to those found in the Alpha kit. The three were glued together with plastic cement. I then drew a line down the center of each pod. Starting at the base of the paper tube, I used my Dremel tool with a cutting disk to cut along the line until the slit was just the right length to fit flush over the plastic fin. This was repeated for the other two pods and they were attached with plastic model tube cement and generous fillets.
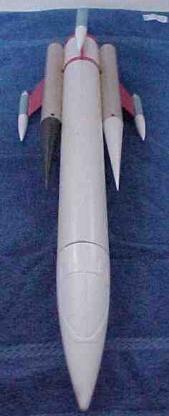
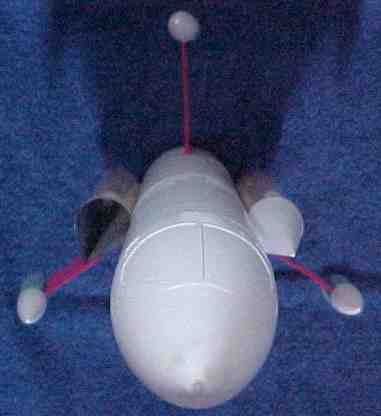
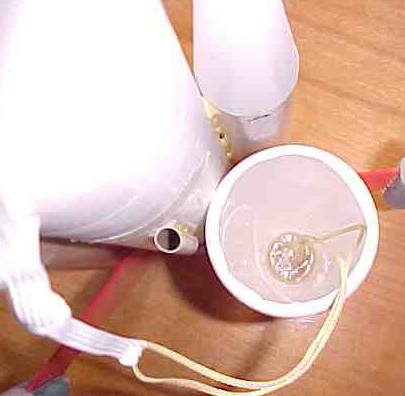 I replaced the
Maxi-Alpha nose cone with one from a Silver Comet kit. I needed to add nose
weight so I cut around the base of the cone to reveal the inside. I added about
1 ¼ ounces of BBs and anchored them in the tip of the nose cone with
90-minute epoxy. I also embedded a loop of 1000 pound test braided Kevlar (tm)
cord to which I connected the shock cord. Finally, I used a military surplus
36-inch parachute I bought from Commonwealth Displays. These parachutes are
very silky and feature eight shrouds with a ninth in the center to prevent
cupping.
One thing I did notice in construction was that unless your two fin rings are perfectly lined up, the fins have a very subtle cant to them. More on this later.
Flight Report
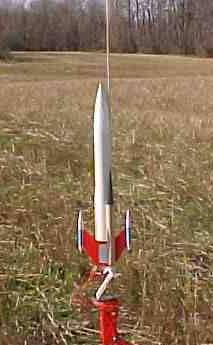
First flight was on Easter Sunday morning-beautiful sunny skies, light variable wind less than 5 mph. Temperature about 400 F. I was a little concerned because our launch field had some fairly wet low lying areas, but it was now or never.
I loaded the rocket with two outboard B6-0s and a central D12-5. I used ample dog barf wadding and prepared the chute. I launched from an Aertotech Mantis pad with a four-foot ¼ inch rod. I also used my new clip whip made from heavy-duty clips and heavy gauge wire-to many misfires lately with speaker wire and micro clips.
Launch was fairly slow but perfect and straight. Rocket climbed to about 600 feet, slowly spinning as it went due to the slight cant in the fins-I liked it. Ejection was at apogee and the 36-inch parachute was just perfect for this heavy rocket. It was a soft recovery was 50 feet from the pad-no damage. I would have launched again but realized I hadn't take any photos yet. Didn't want to tempt fate on this perfect rocket launching morning!
This was a fun rocket to build using basic techniques. Starting with the most basic three fins and a nose cone design, I ended up with a very different looking rocket that's a great flyer.
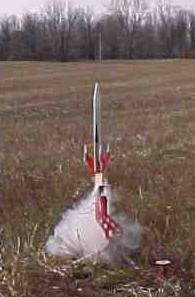
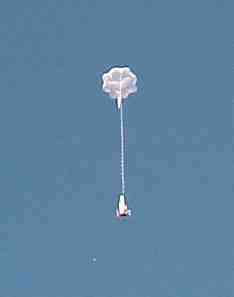
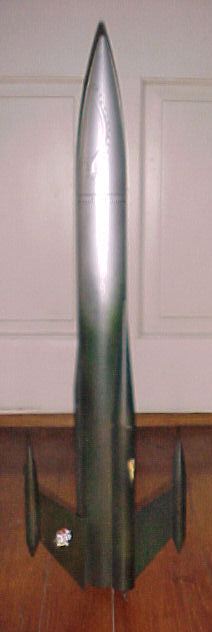
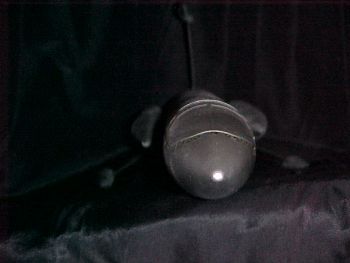
Some last minute shots of a hasty paint job. The dark part of the rocket is a mix of silver, green, bronze, and flat black paint. I used a lot of layers and added a lot of texture to the rocket. I like the way it came out.
Sponsored Ads
 |
 |


