Modification Stretched Blue Ninja Modification
Estes - Stretched Blue Ninja {Modification}
Contributed by Jarrett Gorin
| Manufacturer: | Estes  |

Brief:
This is a stretched version of the Estes "Blue Ninja" (kit #1300).
Modifications:
The thrust ring that comes in the Blue Ninja kit need to be cut shorter to allow the engine mount to accommodate E engines. To get the correct measurement, we just placed the thrust ring on top of a D engine, stuck and E engine next to it, and marked the ring at the correct distance. This gave us a perfect fit for an E engine when using the retainer ring mount. You can also still use D engines using a spacer block.
Toss out the body tubes that come with the standard Blue Ninja kit (or save for another project), and use two 2 Estes BT-60 tubes uncut, which are 18" long each. You can then just assemble the kit using the instructions that come with it but using these parts instead.
Additional modifications we made were to ditch the "rubber band" shock cord in favor of a Kevlar® cord with about eight feet of Aerotech 3/8 inch elastic tied to it. We also substituted a 22" nylon parachute instead of the Estes chute. This attaches to the excellent shock cord mount provided on the tube coupler from the stock kit. We used a 6" x 6" chute protector instead of recovery wadding.
Construction:
This rocket uses the excellent plastic fin assembly from the Blue Ninja kit, as well as the original nose cone, but longer body tubes. The result is an impressive looking, abuse tolerant rocket that provides really nice slow liftoffs.
The instructions that come with the Estes Blue Ninja kit are well written and easy to follow/understand. As noted above, you can use these to assemble the Stretched Blue Ninja modified kit as well.
The build is very easy. I recommend that you paint/finish the BT-60 body tubes prior to assembly. Also, we decided to fillet the fins and paint our fin assembly, and nose cone for a better finish, but this is not required.
We painted our body tubes with a cool blue metal flake paint to try and preserve a little of the original Estes design. Interestingly, the Stretched Blue Ninja does not weigh much more than the unmodified kit due to the fact that the painted body tubes, even though they are longer than the originals, weigh about the same as the tubes in the stock kit, which have a relatively heavy adhesive decorative film on them.
Another thing to make sure you are careful doing is to get the launch lugs aligned properly during assembly. They are integrated into the fin assembly, and the tube coupler, and if you don't get them set up correctly, you probably won't be able to do it later without having to rip apart your rocket.
In general, the assembly is very easy, just like the unmodified Blue Ninja kit, and the result is a very sturdy rocket.
Flight:
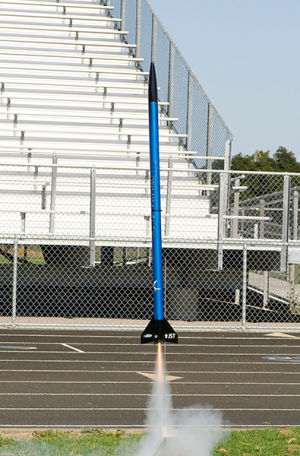
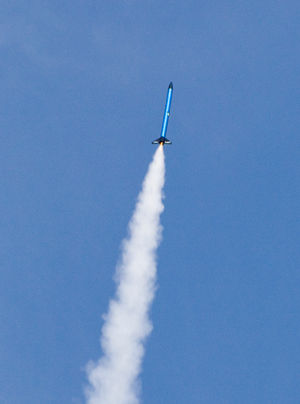
I recommend flying the Stretched Blue Ninja on an Estes E9-6 BP motor. RockSim indicates this will go to approximately 1,100 feet and that is what it looked like in the field. Flights using this motor yielded a very nice slow liftoff followed by steady acceleration with recovery deployment just about perfect at apogee but in a nose-down attitude. We also plan to fly this on Aerotech E30-7Ws in the desert later this month. It should go to about 1,800 feet on that motor.


Recovery:
The 22" nylon parachute we used turned out to be perfect, providing a nice moderate descent rate (looked like about 18 feet/second) without too much drift. The combination Kevlar®/elastic cord we used worked flawlessly, as did the Nomex® chute protector.
Summary:
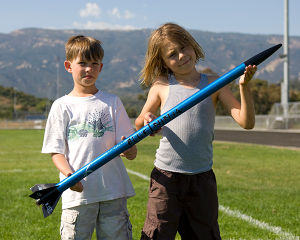
The stock Blue Ninja is a really fun rocket to fly, but this modified version is a lot cooler. In particular, the slow liftoff and visible acceleration make it really exciting to fly. Plus the kids enjoy flying a rocket that is nearly as tall as they are.
A downside to the rocket is that you may have trouble moving it around if you drive a small car. Also, I am a little worried that the airframe will bend if it takes a hard landing at just the right (or I should say, wrong) angle. However, if you use the correctly sized chute, this is very unlikely.
Related Products
 |
 |
Flights
Sponsored Ads
 |
 |


