| Construction Rating: | starstarstarstarstar_border |
| Flight Rating: | starstarstarstarstar_border |
| Overall Rating: | starstarstarstarstar_border |
| Published: | 2012-12-21 |
| Manufacturer: | Clone |
 Brief
Brief
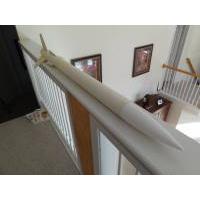
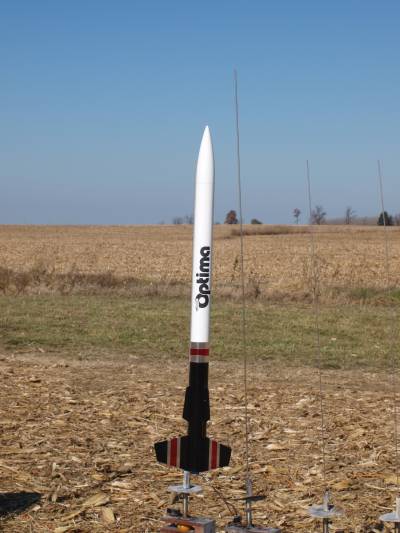
The Estes Optima was the alter-ego of the Estes Shadow, the same rocket with different decor. When I decided to do a clone of the Optima, the only BT-80 tubing I had on hand was three different lengths that had all been scraps from other projects. Because of this, my clone is likely the only one with a clearly defined fin can and an extra coupler.
Components
- PNC-80K nose cone
- 24" Bt-80 (BMS)
- 9.5" BT-80 (BMS)
- 6" BT-80 (BMS)
- 18" BT-50 stuffer tube
- 1/8" balsa fin stock
- 2x CR-5080 centering rings
- CR-2050 engine block
- 36" length of 1/4" sewing elastic shock cord
- large snap swivel
Construction
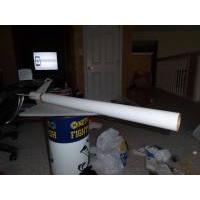
Like I mentioned earlier, this project was built using just what I had on hand in the shop. I had three sections of BT-80 that together added up to 39.5" after a little trimming, as well as the nose cone and BT-50 motor tube.
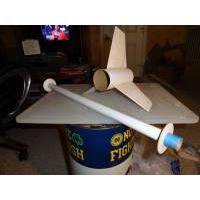
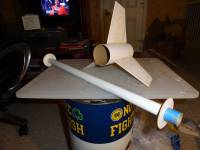
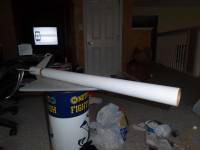
Since I was doing it in three sections AND including a stuffer tube, I had to take extra care in aligning the stuffer tube so that the sections would line up correctly when they were all pieced together, something that I did by gluing only the aft centering ring in place while dry-fitting the forward ring. I continued the "on hand" theme by not including an engine hook in the kit, (I'd just used the last one and had yet to place another order with Semroc,) or Kevlar, so the shock cord mount is the old style Estes tri-fold. The Optima has main and dorsal fins that need to stay aligned for decent looks and performance, a problem I solved by drawing a long line up the body tube and gluing on the lower main fins first. When they had dried I glued the dorsal fins along the same line, then a long strip of scrap balsa on each side of the two fins, attaching them with a paper clip. This let the glue dry so that the fins stayed aligned and left no marks when removed.
Finishing
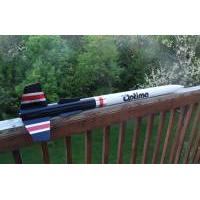
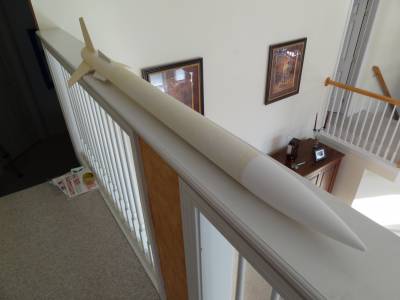
Other than the fact that it's a big rocket with a lot of tube spirals and balsa grain, finishing the Optima is a fairly simple process. Thinned Elmer's Wood Filler and a lot of sanding pretty much eliminated the spirals and balsa grain. The whole rocket was then sprayed with Valspar white primer, and eventually Valspar gloss white. The original catalog finish showed the Optima with a white lower and black upper body, but one of the alternate paint schemes shown was black bottom and white top, which was what I decided on.
I made my own large "Optima" decal, but I was having trouble finding a source for the brightwork around the body tube and on the fins. I finally found some metallic red and silver Mylar tape online and placed an order. As is the case with most new methods, the application of the tape was nerve wracking, but almost foolproof. It turned out looking great, not quite the same as the original, but when it catches the light on the pad or in the air, you tend to forget that.
Flight
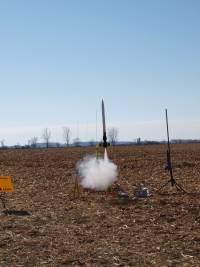
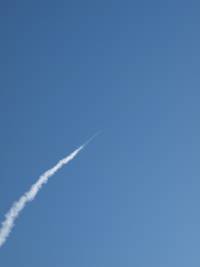
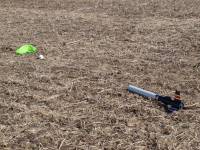
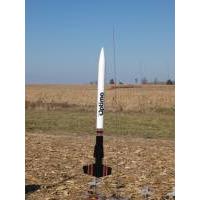
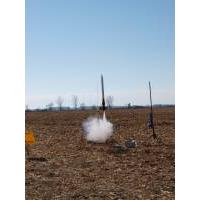
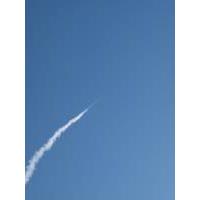
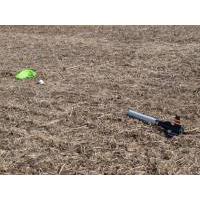
I've made two flights with the Optima to date, both in windy conditions at TORC launches in South Charleston, Ohio. The first flight came with the rocket half finished after waiting all week for the delivery of my Mylar tape. (It came while I was at the launch.) Conditions were far from optimal, with lower than normal temps and a fairly stiff breeze combining to make flying less fun than a day at the beach. Flying on an E9-4, I went small on the parachute for this first flight, hoping to cut down on the post-recovery commute. The rocket windcocked severely to the left as it left the rod, still managing to attain a respectable altitude on the long E9 burn. Ejection came with the rocket approaching horizontal, but the ejection seemed gentle enough. The chute caught the prevailing breeze to the west and began a quick trip back toward the pad, falling at a rapid rate due to the small chute. It landed in the field off to the left, but hit hard enough to bury one fin fairly deep in the dirt. Everything looked fine at first, but as I walked back I noticed a broken fillet and a noticeable paint chipping around the body at the seam between the lower tubes. This was easily fixed and after applying the mylar tape, I was looking forward to flying it again in full livery.
Eight months later I finally got my second chance. Another windy day at the South Charleston cornfield, and another E9-4, but this time I went with a larger chute and angled the rod. By the way the winds were blowing, I was expecting to have another huge windcock off the pad, but unlike the previous flight, this one was almost dead straight. Ejection occurred just as it tipped over and the recovering rocket immediately began drifting back over the flightline. It landed deep in the cornfield behind us. This time the damage occurred when a fin hit the hard, dry ground, and cost me a chunk of one of the fin tips. The original Optima used a 24" chute, so after iffy results with 15" and 18" chutes, I'll go with the large one for the next flight.
Summary
Pros: Sharp looking big bird. Except for the nose cone, built using shop scraps. Excellent performer on Estes E motors. Mylar trim helps with visibility and looks great.
Cons: I've yet to find the perfect recovery combination.
Related Products
Sponsored Ads
 |
 |
