| Construction Rating: | starstarstarstar_borderstar_border |
| Flight Rating: | starstarstarstar_borderstar_border |
| Overall Rating: | starstarstarstar_borderstar_border |
| Published: | 2011-01-12 |
| Diameter: | 0.74 inches |
| Length: | 20.10 inches |
| Manufacturer: | FlisKits  |
| Skill Level: | 3 |
| Style: | Futuristic/Exotic |
Brief
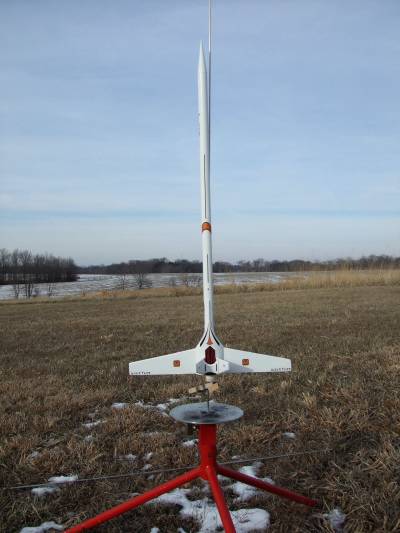
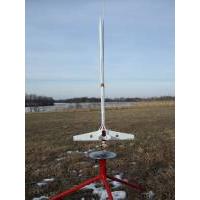
Sci-Fi design of an alien troop carrier, with a pair of high aspect ratio wings (fins) and some eye-catching craftsmanship challenges. Flies on 18mm A8-3, B6-4, C6-5, streamer recovery.
Components
 Parts were very good quality, and included:
- Balsa nose cone
- BT-20 body tubes (2)
- BT-70 body tube (for trim/details)
- TC-20 coupler
- balsa fin stock
- laser-cut fiber fins (ramjet)
- Kevlar+elastic shock cord
- 2x18 crepe paper streamer
- Waterslide decals
Construction
Fliskit instructions are generally well written and clearly illustrated, and on a mildly complex kit like this they can simplify the build process a good bit. I deviated from the plan just a bit, mainly to allow for a paint scheme that could be all spray, no hand brushing. There were a couple of errors in the design encountered along the way, though I would imagine corrections will soon follow.
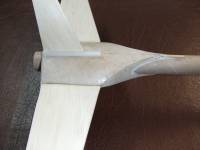
 Construction begins by working the body tubes. The aft BT-20 serves as the motor tube, so just gets an 18/13 centering ring as a motor block. In order to keep the kit packaging (and shipping box) small, this design uses 2 12" tubes joined with a coupler rather than a single 24" tube, so there's a small seam to eventually fill/sand. Note that the coupler is also the shock cord attachment point, resulting in a small bulge.
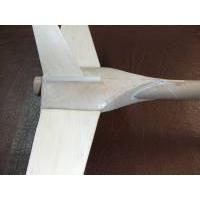
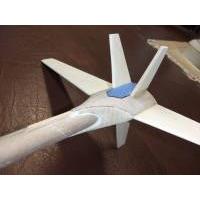
A wraparound fin guide covers marking the aft tube for fins and details. There are two main fins and two small basswood stick time pieces positioned 90 degrees apart. At this point, things start to get a bit complicated. First, you cut two trim sections from the BT-70. These are designed to form arcs over the basswood trim pieces and span from fin to fin. In my case, the patters were significantly oversized, longer at the tips than the corresponding section of the fin that they rest against, so I had to trim mine down about 1/8" to fit. Next, the forward and aft gaps between these BT-70 covers and the inner BT-20 tube need to be covered, and this is done by cutting a couple filler pieces from 1/32" balsa. Even though the pattern is oversized and designed to be trimmed to fit, mine were too short, so I had to recut another set about 1/4" longer than the template called for.
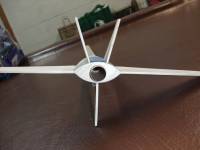
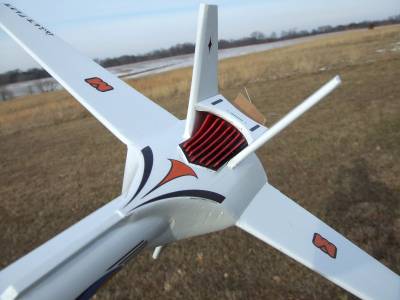
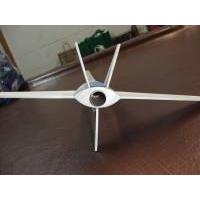
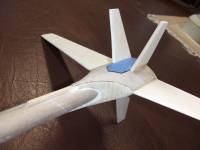 With the BT70 covers and balsa plates in place, construction moves to the intake assembly, a sort of ramjet style section comprised of a fiber base plate, 7 fins, and a balsa tap cover. Since I intended to use contrasting paint colors, I paused at this point to get some base painting done. I painted the fiber base plate offline a gloss black, attached it to the model, then masked it off. Next, I tacked on the two vertical stabilizer fins that but up against this plate and a rudder that sets on the opposite side with a launch lug. I took care of spirals, grain and seams, then hit the rest of the model with a gray primer, then a couple coats of white. Next, I painted the fiber radiator fins offline a gloss red, tacked them onto the (unmasked) base plate. I then cut the balsa top plate, painted it gloss white, and tacked it into place above the radiator fins. Good luck with that scheme trying to paint it after everything's built...
Finishing
I've already covered the paint approach within the construction, so all that was left was applying the waterslide decals, a bit of a rarity in a Flis kit. The decals were pretty good quality, easy to apply, and the clear borders blended in well with the gloss white finish, mostly invisible. There was one minor decal error, though--decal numbers 21 and 22 are trim stripes that go towards the end of the rudder, but they were angled completely wrong for the section they cover.
Flight
For the inaugural flight, I went for the full C6-5. It was a calm day, winds under 4 mph. The boost was dead straight, and not quite neck-snapping speed, very enjoyable to watch. It was a bit too overcast to spot at apogee, but I suspect the -5 delay was about right, maybe just past.
Recovery
The kit comes with a crepe paper streamer rather than a chute. Mine weighs in at 1.46 ounces without motor, so it's borderline whether to go chute or streamer. On this flight, the shock cord got caught around the fins (thus my conclusion deployment was just past), so the streamer's effectiveness was impaired a bit. The result was a nearly ballistic descent, way too fast. It didn't help that this was a midwest winter day, frozen ground. I ended up mashing in the front 1/2" or so of body tube, not exactly fatal damage but more than I'd like on something I put so much effort into giving a top notch finish. After repairs, I'm ditching the streamer for a decent chute.
Summary
To be clear, I think this WILL eventually be an excellent kit, but as-is (at initial release), I'd have reservations recommending it to anyone not willing and able to work around the bugginess of the templates, and would definitely suggest pulling out a chute from the range box. It's a great design, just too much rework and corrective action required by the modeler to achieve its potential.
 |
 |
Flights
 |
 |
 |
 |

Jim Flis (February 21, 2011)
The body cutting template and bulkhead templates have been fixed. Those with an unbuilt Mystic can go to our web site to the kits detailed description for a free download of the corrected patterns.
FURTHER, per several recommendations we have upgraded the recovery to a 12" parachute, now included with the kit!
Special thanks to Chan and others who have provided feedback on this kit to help us make it a VERY good kit indeed! :)
jim