Scratch Hellion Original Design / Scratch Built
Scratch - Hellion {Scratch}
Contributed by Peter Stanley
| Manufacturer: | Scratch |
Brief:
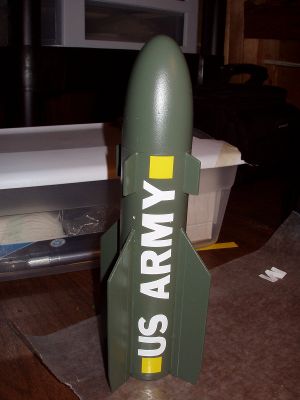
The Hellion is a 'Goonified', squashed down version of the Hellfire anti-tank missile. It is almost nine inches long
and flies on a recessed cluster of four 13mm motors. Recovery is via 9" parachute.
Construction:
The components include:
- 1 6" x 1.6" body tube
- 1 1.6" elliptical nose cone
- 4 rear and 4 forward fins, made from 1/16" basswood
- Kevlar® thread
- 1/16" Presentation board material (1/16" cardboard would work too) for centering rings.
- 4 1.75" lengths of BT-5 tube.
- 4 BT-5 size motor blocks
- 1 .615" piece of BT-60 coupler tube
- Card stock paper
- Lead shot for nose weight
- 9" nylon parachute
- 2' of 1/4" shock cord material
After designing in RockSim and cutting parts out, everything was easy to assemble.
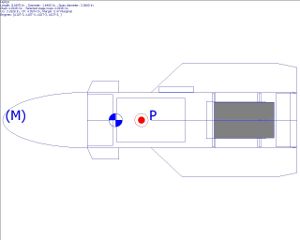
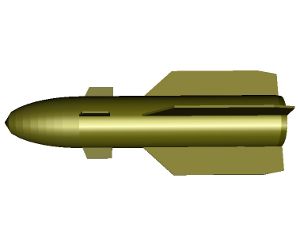
I made an alignment wrapper and guide using VCP. I created fin, centering ring, and shroud templates using RockSim. I printed the centering ring and alignment guides onto cardstock then attached it to 1/16" Staples Presentation Board with spray adhesive. I cut these out with a hobby knife.
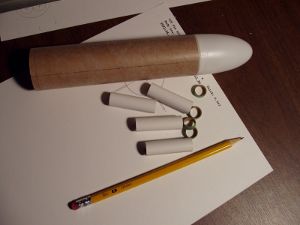
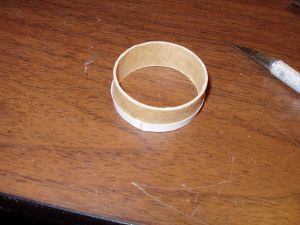
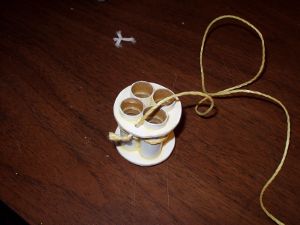
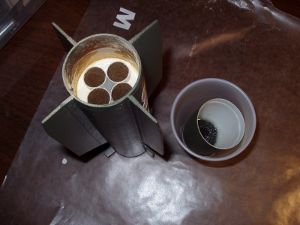
I assembled the motor mount using the BT-5 tubes and centering rings. Before installing I made a hole in the top ring and tied a piece of Kevlar® thread around the motor tubes. I installed the motor mount, recessing the tubes 0.735" from the bottom of the body tube. I created the tail cone by printing the shroud onto cardstock paper and forming together. I pressed the piece of BT-60 coupler into the bottom and glued in place. I then glued the tail cone assembly into the rear of the body tube so the top of the shroud touched the bottom of the body tube.
I made a 1/8" hole in the top centering ring, pushed kevlar thread through, and tied around the motor tubes. The other end of the kevlar was tied the the rubber shock cord.
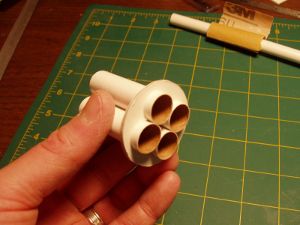
I attached the fins using a homemade fin guide that was generated with VCP and cut out on 1/16" presentation board.
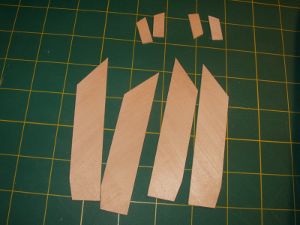
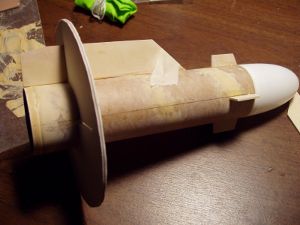
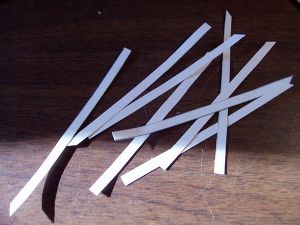
Fin detail was created by re-tracing 8 copies of the rear fin template onto cardstock paper. I then measured 3/16" from the root edge of each one and drew a straight line along it's length. I cut these out and glued to each side of the rear fins along the root edge.
I used lead shot and 30 minute epoxy for nose weight. I let the nose cone sit upside down in a cut of water while the epoxy cured. This was done to prevent the nose cone from warping due to the heat given off by the epoxy curing process.
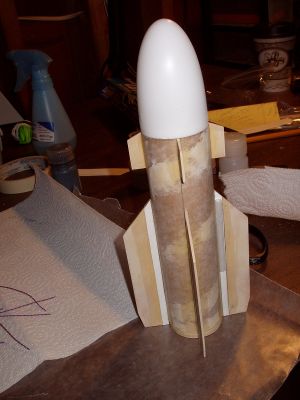
I initially added only 2.3oz of nose weight, but after flying a couple times I decided to add another 1.5oz.
Since the motors are recessed, I painted some 30 minute epoxy in the exhaust tube.
Files and templates available for download:
- Bottom Fin Template
- Cluster MMT Template
- Fin Alignment Guide
- Fin Wrapper
- Tail Cone Template
- Top Fin Template
Finishing:
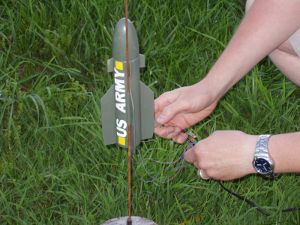
I used two coats of Elmer's Wood Filler on the fins and body tube. I sprayed two coats of white Krylon primer,
sanding between coats. I used Krylon Italian Olive for the green. Detailing was done using 3/4" square pieces of
yellow vinyl adhesive and 3/4" white lettering. After all the painting and detail were done, I sprayed on a coat
of Krylon Clear Coat.
 Flight:
The first two flights were unsuccessful. This rocket definitely needs a full caliper margin between CP and CG. I went
with about 1/2 margin and it flew sideways. I've since added additional nose weight and will try again. The second two
flights were also unsuccessful but that was due to clustering issues. Only two motors lit for the third flight, and
three for the fourth flight.
Finally got a successful flight:
Recovery:
I have not fully tested the parachute, but the rocket has had catastrophic landings with no damage so far.
Summary:
The Hellion has questionable stability, but it can take the of abuse if a flight doesn't go well. It requires lots of
nose weight, but the 40 newtons average thrust (assuming motors all work) should provide enough thrust to be stable. It
could make a nice desk weight when/if retired.
Sponsored Ads
 |
 |


