Scratch Cup of Joe Upscale Original Design / Scratch Built
Scratch - Cup of Joe Upscale {Scratch}
Contributed by Glenn Roth
| Published: | 2010-03-07 |
| Manufacturer: | Scratch |

Brief:
This is an upscale 2+ x's, of the "Cup of Joe" saucer, for the 2010 EMRR challenge. (I
realize this is scratch built)
Construction:
- 1 - Empty Cool Whip container
- 1 - 4" BT20
- 1 - Soda straw
- 1 - Spent motor
- 1/4" foam board
- Option: florist wire or landscape flag wire, etc.
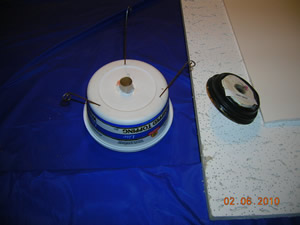
This was a pretty simple project except for alignment of body tube. After this first one, may have club build some. This time, with "oversized" holes to allow alignment of BT straight up and down.
Had all the parts laying around, except for the Cool whip, whip I ate for the container.
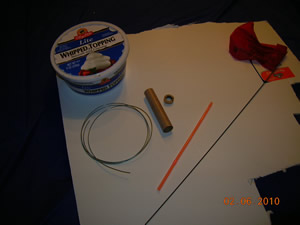
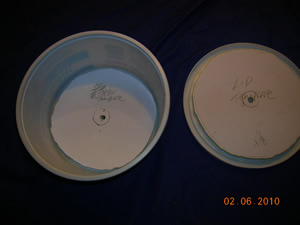
Tools: I opted to glue foam board on lid, and in bottom, drill holes and cut on a scroll saw. Not the easiest but sure was fast. Good sharp hobby knife to cut foam, drill, (Loctite)epoxy, adhesive spray, and marker or pencil.
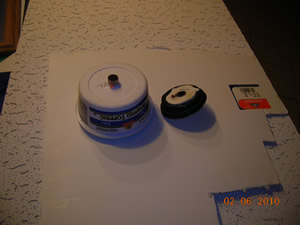
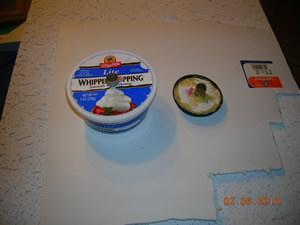
This is a very sturdy rocket! You can coat BT in "modge podge" for a little more strength. Also, add florist wire "landing gear".
Finishing:
BE CAREFUL threading "landing gear" thru pre-drilled holes in "bottom",
which is now the top. Could VERY EASILY puncture Motor Mount.
 Flight:
Because of the width and wind resistance, my 1st motor will b a C6-5.
Prep is easy: "friction fit" a motor in place. Nothing else need, "tumble recovery." 1st flight today 2/20 on a C6-5. Went perfect! ejection went off @ apogee or maybe w/nose slightly down. No damage w/soft landing in snow.
Recovery:
Tumble recovery went fine on first flight. Used a 4' long launch rod, recommended. 2nd flight
not as high and landed right on a greenhouse. 3rd and 4th flights on C6-5s were nice. Simple and impressive rocket!
flies nice!!
Summary:
Cons" Little concerned with "lip" around lid causing some drag. Will try and
fill in with glue if needed. "Update" not enough drag to worry about.
You want the body tube as close to center of cool whip container as u can get. Cut oversized holes and fill in with epoxy after lined up, straight up and down.
Pros: almost no cost to build with leftover parts laying around.
Fun to launch! Hold top of BT when inserting motor.
Other:
Nothing like a good sharp knife. Scroll saw was overkill.
Sponsored Ads
 |
 |


