| Construction Rating: | starstarstarstarstar |
| Flight Rating: | starstarstarstarstar |
| Overall Rating: | starstarstarstarstar |
| Published: | 2020-08-04 |
| Manufacturer: | The Launch Pad  |
 Brief
Brief
Apparently I'm not alone in this. I initially bought the TLP Perseus thinking that it was a scale kit, only to find out that it was a TLP original. There were two problems with that: 1) it eliminated any chance of using the rocket in a scale competition, and 2) it freed me from the need to source paint and decal schemes from an actual missile. OMG!!! TAKE MY MONEY!!!! I assumed TLP kits were all scale missiles, but looking through the lineup I realized that several of them are just original designs, including THREE that I already own. If this can get better, I can't imagine how.
Components
- BT-60 body tubes
- PNC-60MS nose cone
- 24mm engine mount
- paper transition and centering ring
- balsa fin stock
- 1/4" hardwood dowel
- launch lug
- elastic shock cord
Construction
My first TLP kit was the Bolo, which is basically a 4fnc kit, so when I opened the Perseus I had very little idea what I was in for. I bought the kit from Hobbylinc, but it had arrived with the tubes flattened. They wanted me to send the whole kit back, but I suggested that they just send me replacement tubes instead. The new tubes arrived two days later. The service left me impressed, but was also what I've come to expect from Hobbylinc.
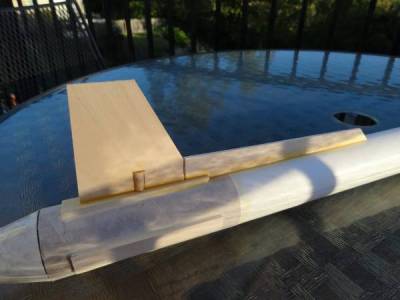
Initial construction went fine. I got the fins cut out (I subbed in basswood,) and the motor mount constructed, transition included. Kevlar was tied in behind the forward centering ring of the engine mount and the whole structure was installed. Then I got to the actual fin construction and panicked. I'd been doing construction while sitting on the floor in the loft watching baseball games. Clearly this would require a better build setting.
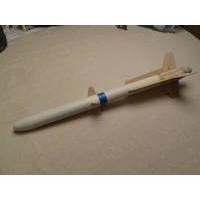
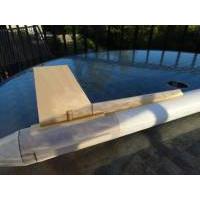
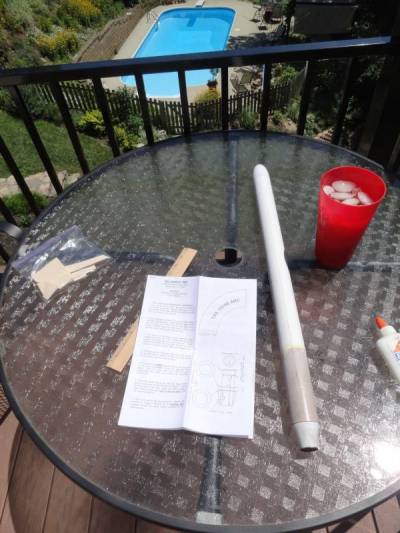
I got back to construction the next day, sitting on the deck overlooking the pool with a glass of iced tea on a strangely cool day that was supposed to be spent swimming. I found my ability to concentrate on the project to be greatly enhanced, and I was able to make significant further progress on the fins without screw ups. Once I got the first one finished, the other three went together fairly fast and I was amazed at how well the whole unit fit together and fit on the rocket itself. The smaller forward fins were kept in line by wrapping a piece of masking tape around the body tube where the trailing edge of the fins would sit, then gluing the fins just in front of the tape. At this point it's ready to paint.
Finishing
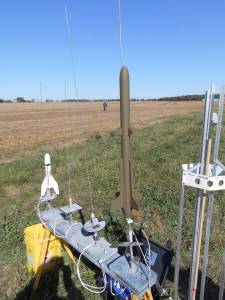
Since the Perseus was never an actual missile, that left it up to me to come up with a paint scheme on my own, something that isn't a part of my skill set. I thought about a camo paint scheme, but at the time I was up to my elbows in another camo scheme that convinced me that camo was not really in my skill set either. I tried a blue scheme like the one on the facecard, but it looked too cartoony. Then I went with a white and black scheme like the one on the Perseus II, but it bubbled. I sanded the offending white paint off, but lost interest in the project for a while and it became a fixture of my "unflown" pile. In the end I just primed with Rustoleum primer, covered the whole rocket with thinned Elmer's Fill & Finish (or whatever they were calling it that month,) sanded, and sprayed the whole rocket with Model Master Camo Green. After the first flight necessitated a rebuild, I hid the scars by adding ACME lettering in 1" self adhesive white letters that I picked up at Hobby Lobby. (They weren't really self adhesive. I had to apply them myself.) Should have thought of this from the start.
Flight
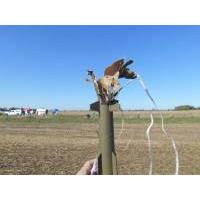
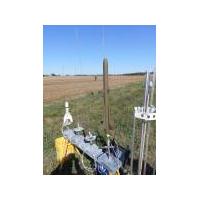
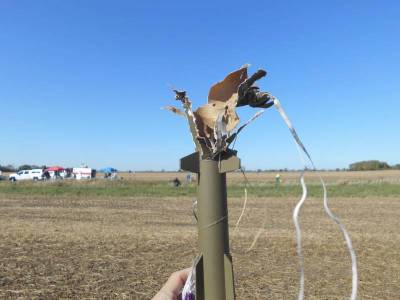
Flight #1. Let's talk about flight #1. Despite starting the build in 2013, circumstances delayed the first flight until 2019. Loaded with a D12-5, the Perseus was announced twice and the LCO attempted to launch it to no avail. He moved onto the next rocket in line, announced it, and launched it. It windcocked to the right across the creek and the whole flightline was watching the flight. Just as it reached apogee, the unmistakable sound of a rocket launching caused every head to turn back toward the pad in confusion. The Perseus had launched on its own, and by the time we looked was halfway through an abbreviated flight. For some reason the D12-5 was performing like an A8-3. The Perseus barely reached 100' in its short, arcing flight. It actually reached apogee over the creek, which was only 20' to the right. It hit the ground while it was still "under power", although power was never a part of the flight. That said, the impact destroyed the whole front of the rocket. The ejection charge fired while it was on the ground, finally providing the flight with some power. The Perseus was half destroyed, shredded all the way down to the forward fins, but everything behind the fins looked fine. It would fly again.
Repairs were made over the holidays and I brought the Perseus back for our early March launch, just before the world caved in on us. This would be another D12-5 flight, this time not at the whims of the wireless launch controller. The Perseus left the pad after the countdown this time, so bonus points for that! While on the way up it wiggled noticeably, possibly because I failed to replace the centering ring that kept the parachute from sliding during boost. (It was destroyed in the flight #1 finale.) The Perseus topped out around 600', likely lower than normal due to the windcocking. It landed across the creek, and before I could figure a way across it was retrieved by another flyer who was already over there for a recovery. Can't beat that.
Recovery
The Perseus came with a Mylar chute, but past experience has soured me on Mylar. I swapped the Mylar chute for an 18" Estes chute for the first flight, which obviously wasn't needed. Second flight was handled by my trusty 15" nylon chute.
Summary
Pros: TLP kits demand that you use old school methods, which is what appeals to me most about the kits. Fin design of this one is like a sculpture.
Cons: At the moment, TLP is in limbo. It would be a shame to lose The Launch Pad as a kit supplier and I'm hoping against hope that someone decides the company is worth purchasing.
Other Reviews
- The Launch Pad Perseus By Doyle Tatum
(by Doyle Tatum) When I purchased the rocket I thought it was a scale model model, but in actuality it is a Launch Pad Original design. It is a single D motor design with large fins and a boat-tail. I coated the paper boat-tail, inside and out, with 20 minute finish epoxy - which has made it very strong. Also, I sealed the fins with several coats of the same epoxy. This made them ...
 |
 |
Flights
Sponsored Ads
 |
 |

