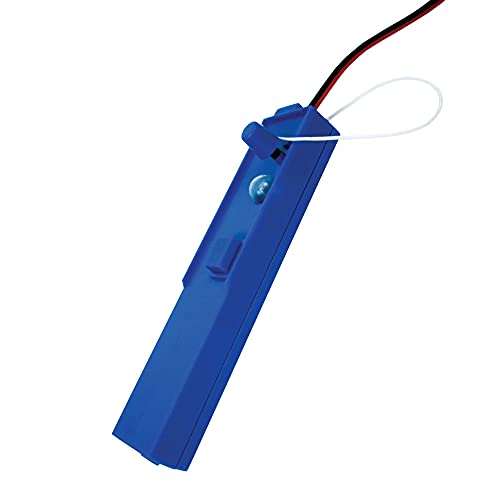
Scratch Home-Brew Launch Controller
Scratch - Home-Brew Launch Controller {Scratch}
Contributed by Ed Bertschy
| Manufacturer: | Scratch |
AUTHOR'S DISCLAIMER: This page shows how I made a launch controller out of parts readily available from any store which sells electronic parts. It is not intended that you should make one too. This is for your information only. If you try to build one like this, and end up getting hurt, or blowing up a battery, don't come crying to me. I make no claims that this actually works, or that all of the information here is entirely accurate or correct.
![[Rocket Pic]](images/archive/images3/scratch_controller01.gif)
I bought everything needed to build this controller from Radio Shack for about $15.
Parts:
1. The buttons: both the Launch Button and the Continuity Button are momentary push buttons. They only pass current while you are pressing them. The type of button to avoid is a Push-On/Push-Off type button. You also do not want a toggle switch or rocker switch. The continuity button acts like a deadman switch. Even with the safety key in place, if no one is holding the controller, the launch button will not work.
2. N Cell Battery and Holder: I used an N Nell because they are small and have the right power. A single N Cell will not ignite an Estes type igniter.
3. Piezo Buzzer: this needs 1 to 3 volts to operate. The N Cell provides 1.5 volts. It has a low tone, which I find much easier to hear than the high squeal a lot of launch controllers use.
4. Diode. A diode acts like a one way valve for electricity. Current can pass one way, and not the other. I used a regular silicon diode rated at 1kV and 2.5A. Do not use a Zenier diode. The cathode (the side with the band on it, needs to be towards the safety key and away from the piezo buzzer. This is a device to counter shorts in the igniter. If your igniter is shorted, this whole launch controller becomes a battery charger. You will end up trying to charge an N Cell with a car battery, which might make it explode. To prevent this, I have put this diode here.
5. Safety Key: This is a regular 1/8" mini-plug. Inside the plug itself are two leads. I soldered a wire so that the plug connects to itself. This passes the current through the base of the plug when inserted. If you build any type of controller, make sure you have a safety key, and that it interrupts both the continuity AND the power on its way to the igniter. Without the safety key, you cannot check continuity, and absolutely cannot launch either.
6. Mount the whole thing inside a small box. I put the Launch Button and Safety Key on top, and the Continuity Button on the side.
![[Rocket Pic]](images/archive/images3/scratch_controller02.gif)
Operation
The operation is the same as an Aerotech Controller. First, making sure that the safety key is removed, connect the igniter to the clips. Insert the miniplug, and depress the continuity button. If everything is correct, you will hear the piezo buzzer. This indicates continuity though the igniter. When ready, while holding the continuity button down, press the launch button.
Pictures of the finished controller will appear soon.
People hook launch controllers to all sorts of things, including car batteries. If you want to design or build your own launch controller, make sure that you have the skills and the equipment to do it right. A sloppy job can result in big problems, not the least of which is shorting out the positive side of a battery to the negative side. Before you build any device like the one described here, make sure you understand the theory, and do not use cheap parts. Use your heads, people. You have no business doing rocketry if you do not put safety first.
Sponsored Ads
 |
 |


