CLICK PICTURE TO GET FULL SIZE
 |
 |
 |
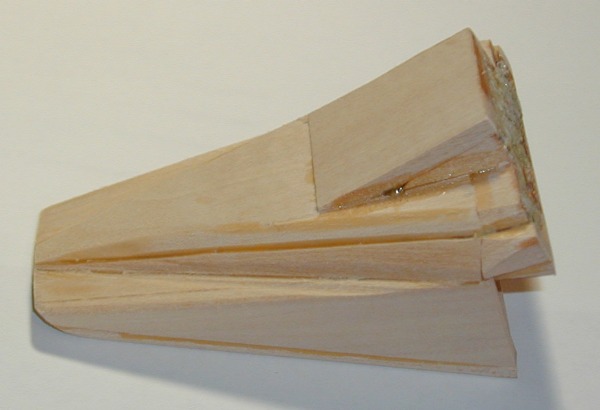
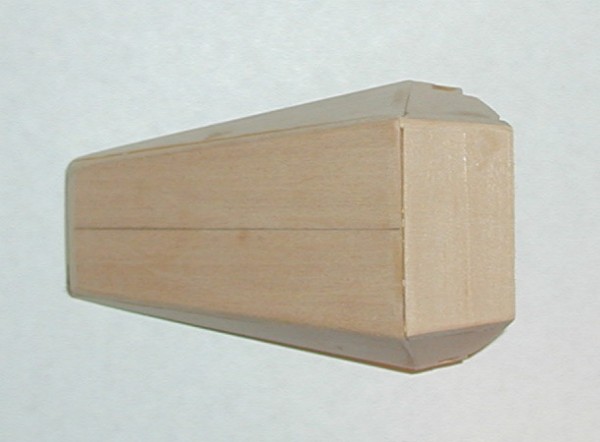
Pic 19: Side of Cockpit
From Pic #16, I reduced the side panel down to 9mm (I corrected in in Pic #19 list). I then added the squared off bottom section, filled in the sides. I set the angle that the cockpit will sit by using this square'ish piece and the middle that extends out. By placing the assembly flat up against a table, I then cut smaller pieces to fill in and help shape the bottom. See picture to the right. |
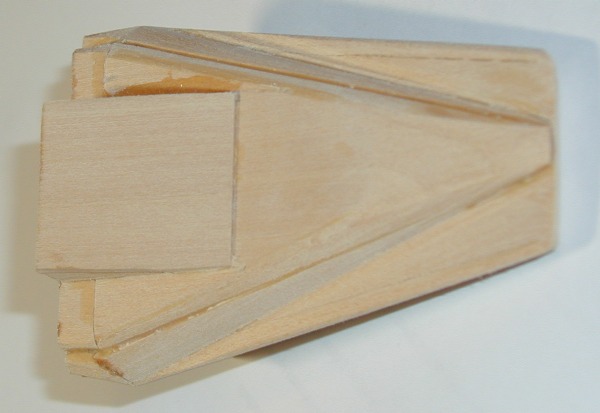
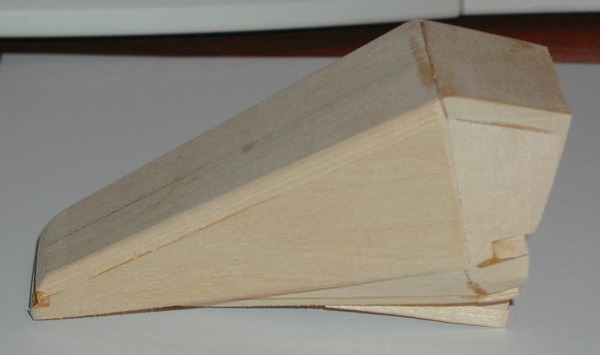
Pic 20: Bottom View 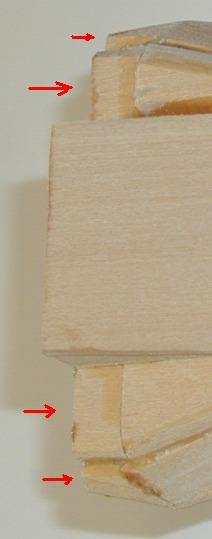
|
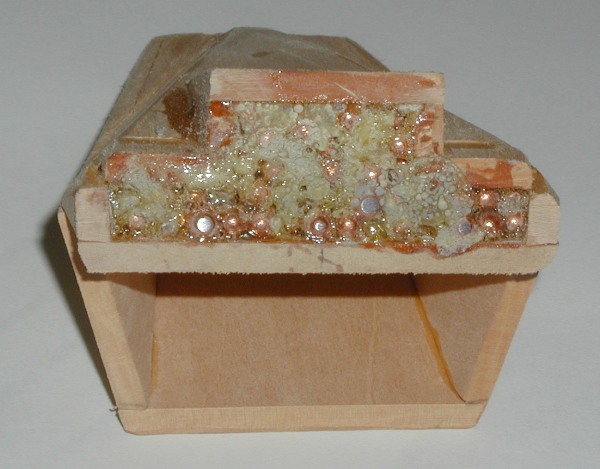
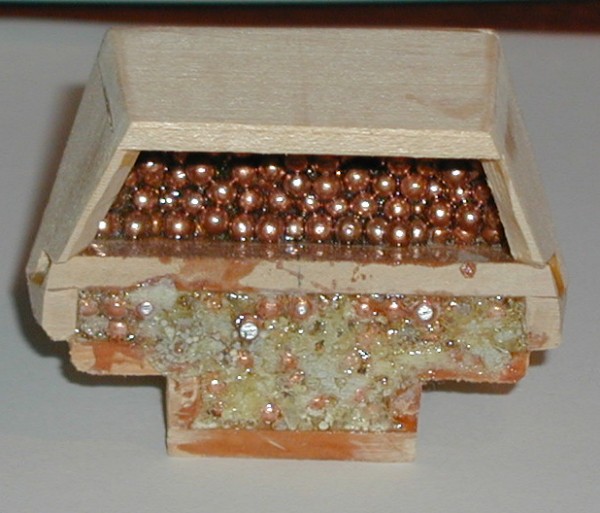
Pic 21: First Filling I know I need a heavy, heavy front end (anticipating 1 pound). I started by filling the lower section. Prior to filling it weighed 1.6 ounces. After 5.3 ounces. I used 5 minute epoxy and BB's. Except for the top "capping" glue (which was a mistake) I used my Polyurethane Glue. (additional comments about ProBond Polyurethane glue). The glue expanded and bubbled. I cleaned it up with a hobby knife and sand paper. I also had to sand down the assemble to get it flat again so you can see a few BB's sanded. NOTE 1: You really should build the Front Cover (Pic #28 on page 5) NOW! |
 |
 |
 |
Pic 22: Back of Cockpit
Okay, here I'm starting to loose it. But to build the back portion of the cockpit you need to do some piecing together. The top is cut to be the width of the existing top and then angled 5mm on each side. The sides are pieced together to fill in and to match angles. These were the toughest cuts and fits. (see pic #23) |
Pic 23: Back of Cockpit The pieces and angles are set to match the Front Cover (pic #28 and pic #29) 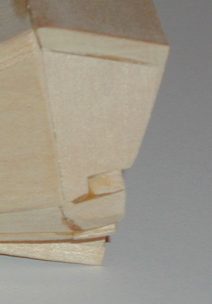 |
Pic 27: More BB's As I work to get enough weight in the nose, I added more BB's. The weight is now up to 15.4 ounces. I didn't fill it because I still need to figure out recovery attachment. I have determined that I need to let this heavy nose cone eject away from and separate from the main body tube. This thing will destroy the rocket if it ever connects. Therefore, recovery will be in two pieces. |