CLICK PICTURE TO GET FULL SIZE
 |
 |
 |
| Pic 13: Clean up, Cont. I coated all the exposed balsa with a thin CA that I paint/squeegied with a business card before sanding. The Lower Fins are sanded to be even with the Struts. This weakens the joint, but I have plans for that ahead. NOTE 1: Be careful how you sand, there are a lot of angles. Be sure of what your sandpaper is rubbing on. |
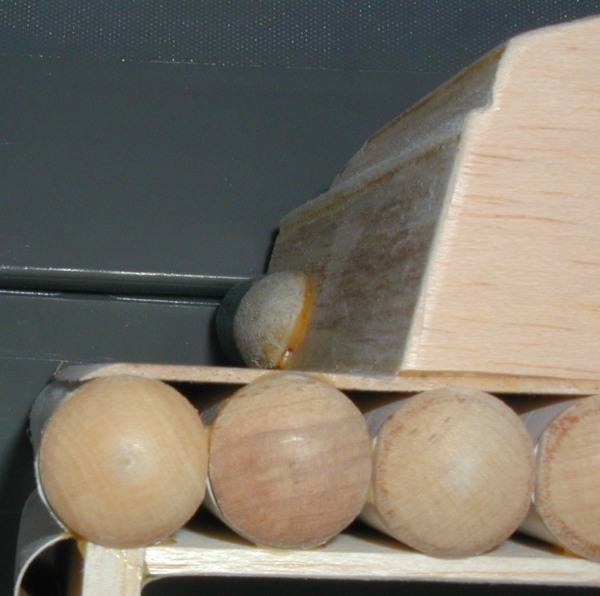
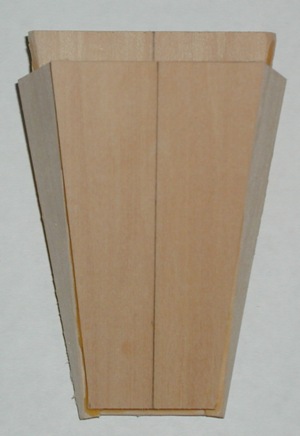
Pic 14: Clean up, Cont. Just another clean up picture. For the remaining gap between the upper tube cover and the outer tubes, I used my wood glue. I used a sanding block (small 1 x 2 x 1/2") and 180 grit paper (220 would be better, balsa is soft!) The Upper and Lower Tube covers are sanded to "round" into the outer tubes. |
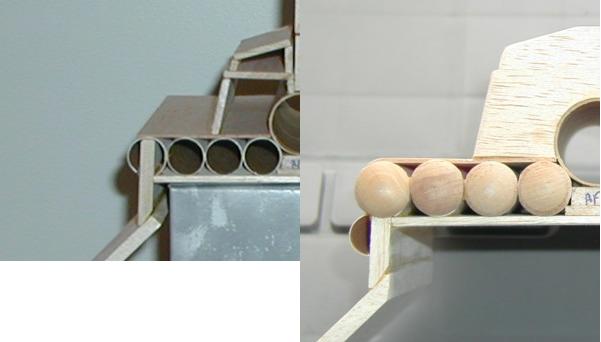
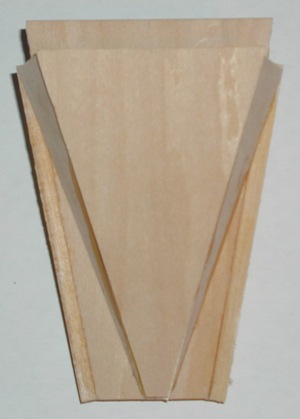
Pic 15: Clean up, Front Front picture showing some of this round of clean up. The arrows point to where sanding was done to round out the edges. The Upper Canopy Front Cover (Pic #4) is sanded to transition smoothly onto the Lower Canopy Top (Pic #2). NOTE 1: The circles show how the exhaust port was cut between tubes 3 & 4 and 5 & 6 (Pic #1) |
 |
  |
 |
Pic 16: Cockpit, Side
I switched to basswood for the cockpit (nose cone) for the added strength and weight (yes, I want the weight up here). |
Pic 17: Cockpit, Top & Bottom I tried to sand the angles the best as possible to have a good fit. The outside will be cleaned up later. I took my own design freedom on the bottom (which is 100% done) because I couldn't find and pictures that gave me a great perspective. The pieces were all cut from 3/16" Bassword that was 3" wide. This was good, because the first 115mm piece yeilded the Middle and the two Bottom Sides. The 2nd 103mm piece was for the top. The 3rd 103mm piece yeilded the Top Sides and the Bottom so it worked out very well. Titebond Original glue. |
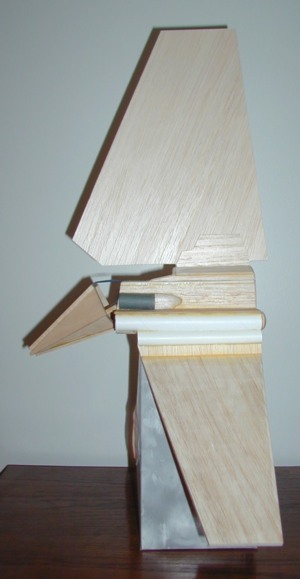
Pic 18: Motivational Shot Just another shot with the cockpit taped to the body (upper fin still not glued in) to keep me motivated. Now, I begin to wonder if this thing will be able to fly. I mean look at the angle on the nose cone. Is this thing simply going to fly in circles? |