U.S. Rockets - Sniper
By Bill Eichelberger
2014-05-05
| Manufacturer: | U.S. Rockets  |
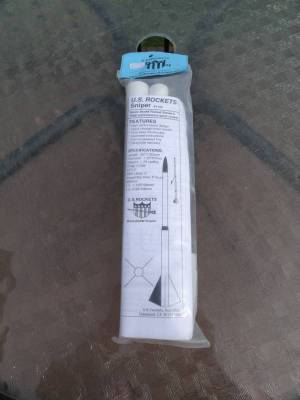
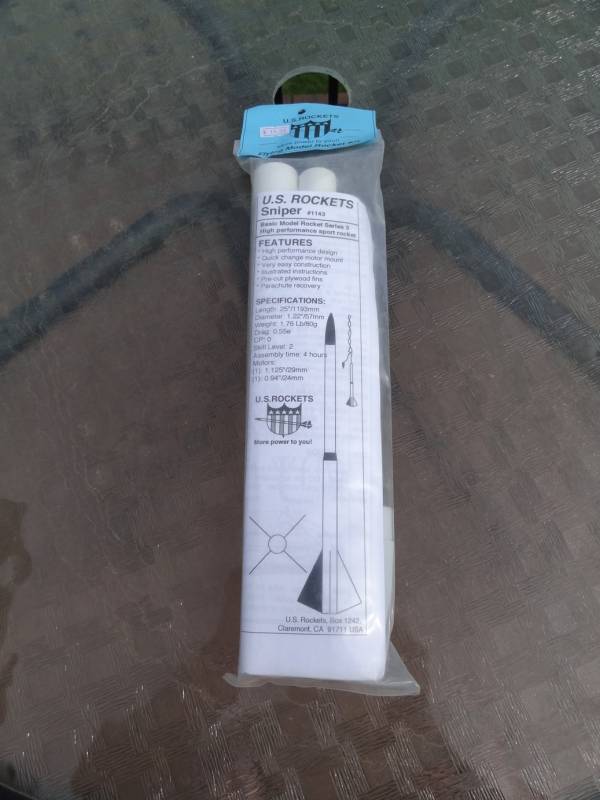
The whole U.S. Rockets story makes for good reading if you have a hankering for that kind of thing, but I've always wondered about the kits thrmselves. Jerry recently posted a link at YORF to a hobby shop that sells his kits. I stopped in for a look and was impressed at the inventory. Always on the lookout for a brick and mortar shop to support, I decided that I was going to buy something from the inventory. The choices were impressive, but the one that most appealed to me was the USR Sniper. The name was what originally pulled me in, but the Sniper is a great looking bird with 18mm, 24mm and 29mm capabilities. Something like that is hard to pass up.
Started.........FINALLY
2015-01-21
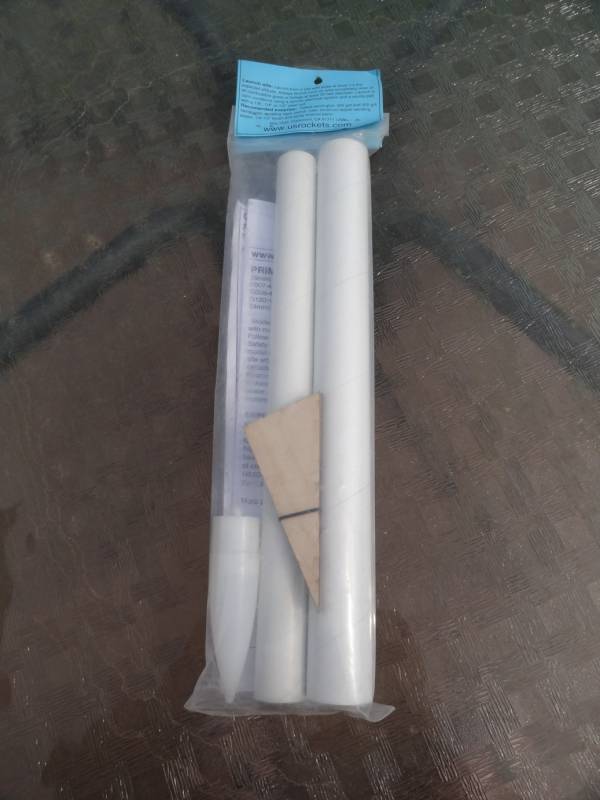
Several things factored into the delay in getting started with this project. I missed most of the 2014 launch season with my club and got tired of flying by myself. While flying by myself I got tired of seeing the trees around my field grow fat on my hard work. I opened the kit and was immediately intimidated by the method for creating the transition. Whatever the case, 2015 blew a hot new wind up my skirt, and when I peeked my head out of the hole I'd hidden in since late summer I found a new club launch season staring me in the face. I started looking through the kit stash to see what sounded interesting and the USR Sniper turned out to be exactly what I was looking for.
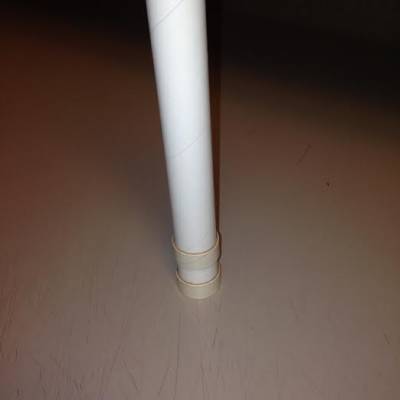
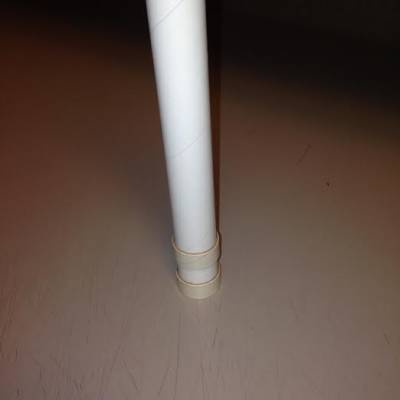
Not complicated by any stretch of the imagination, the Sniper goes together quite quickly. Materials were all very stout, which is not a surprise considering the motor range that it is designed to fly on. Instructions aren't overly detailed, but are more than adequate if you have any kind of previous rocketry experience. The first order of business was attaching the centering rings that would join the upper and lower body tubes. As you can see, they mean business.
The transition?
2015-01-21
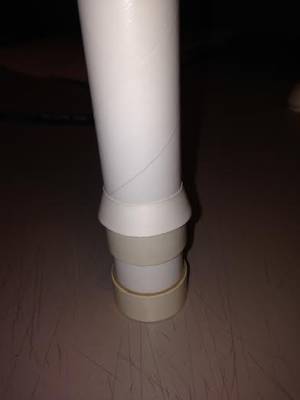
If I had to call foul on any facet of this project, it would be because of the transition. Paper transitions are a bit intimidating when you're a beginner, but I've conquered my fear over the last decade plus. This might have set me back to 1977. There's paper involved, but only as a guide. You use the guide to figure out where to make the triangular cuts in the top end of the lower body tube. The remaining sections are then bent down and glued to the upper body tube to form the transition. This made sense as an old school way of making a transition that I could see trying out on one of my home brew birds, but not on a commercial kit. Transitions might have made a background in calculus necessary in the old days, but there are programs that do all the math for you in 2015. I wrestled with the problem for several seconds before going to the Payload Bay and plugging in the numbers. http://www.payloadbay.com/index.php?page=Tools&action=TRANS
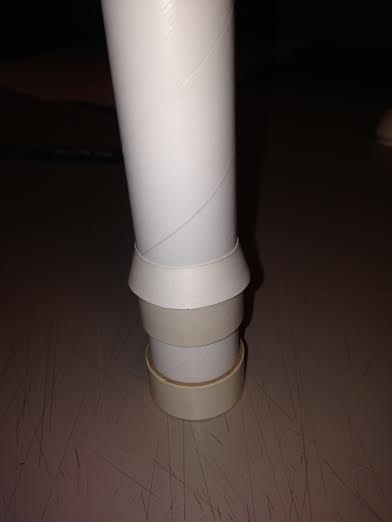
I believe the saying is "No muss, no fuss". That's just how I like it. I had to make a couple of transitions before I got to this one, but file cards are cheap. I used 1.22" and 1.0" for the tube diameters, and .375" for the length. YMMV.
Fins
2015-02-01
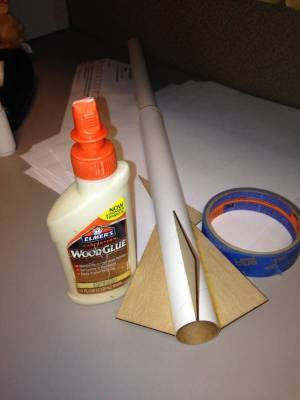
Simple, but impressive. Dead straight 1/16" ply. Positions marked using the illustration in the instructions, then eyeballed and attached with Elmer's wood glue. The fins were another thing that drew me to the project. Reminded me of the FSI Dart.
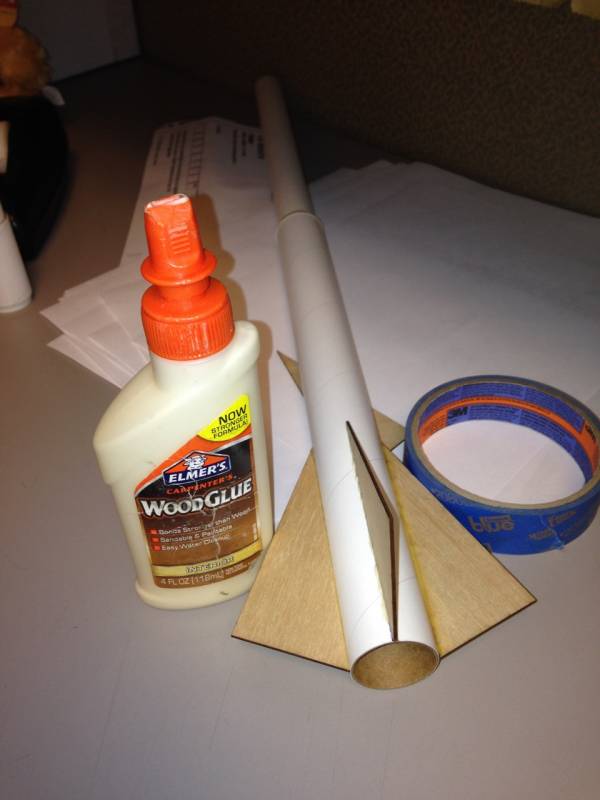
My one modification
2015-02-01
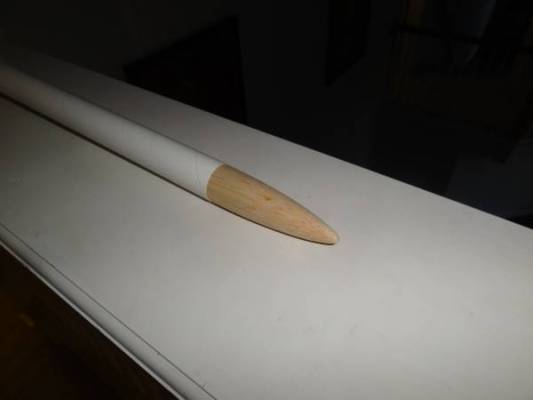
I really like this kit, but I was not impressed with the plastic nose cone that came with it. Too stubby for my tastes, and the overall rocket said wooden nose cone to me. Luckily I had a balsa cone in my stash that I really liked in place of the plastic one. Just slightly longer than the plastic cone, but that 1/2" made a big deal to my eyes.
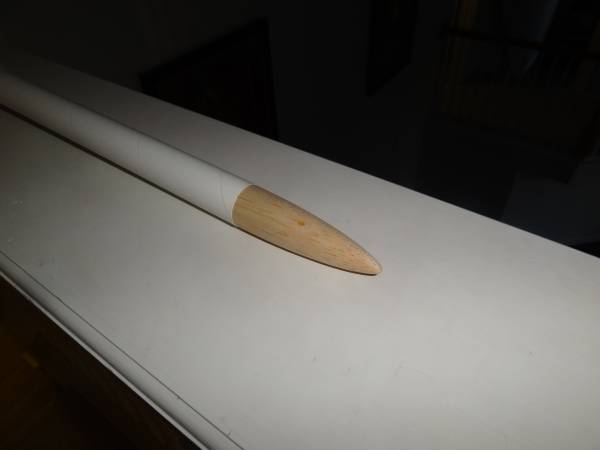
POWER!!!
2015-02-01
I had the choice of 18mm, 24mm or 29mm power for this bird. I know Jerry and GH are both proponents of MAX POWER, but I doubted that I'd ever be in a position to fly so small a rocket on so big an engine, so I compromised and went with 24mm. It definitely won't fly at B6-4 Field with this setup, but the cornfields might give me the needed room to stretch out and consider an E9-8 flight. If that goes well I'd likely entertain the idea of buying a second sniper for 29mm flying, just in case I ever find myself flying out west. Oh yeah, forgot to add that I left the thrust ring out, so I'm good from C11 to E12.
Next stop - the paint booth
2015-02-01
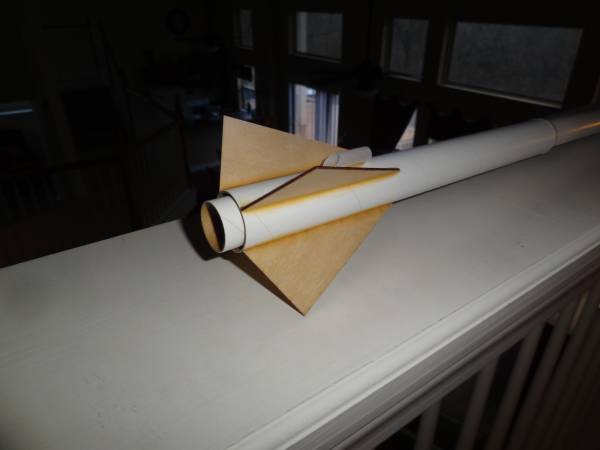
Or, as my wife likes to call it, the side yard.  We hit Hobby Lobby last night after dinner and I decided on the paint for the project. Metallic orange and black, but I still have to figure out which color will go where. I'm leaning toward orange on the main body tube with black fins and upper body tube, but that's subject to change. Sorry for the photo quality, but there's only so much you can do on a day like this. It's fugly out.
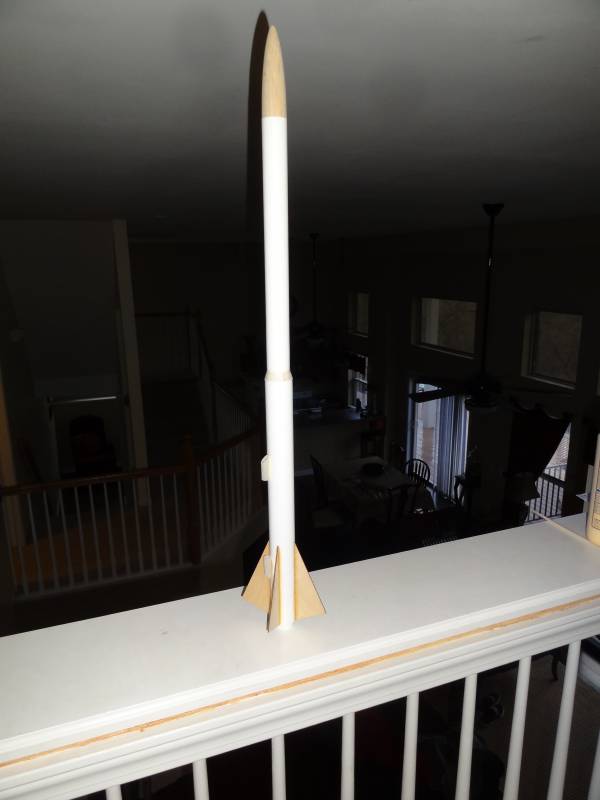
While today doesn't fill me with much hope, I plan to paint it this week and fly it next Saturday at the new TORC cornfield. As always, depends on the weather.
Sponsored Ads
 |
 |
