Scratch RastroCam Original Design / Scratch Built
Scratch - RastroCam {Scratch}
Contributed by Sven Knudson
| Manufacturer: | Scratch |
Note: click on the mini-photos or hypertext links to get the full sized photo with caption.

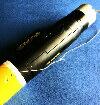
 Several people have asked me how I built my Rastrocam (rearward looking Astrocam). I pretty much followed the ideas put forth in Advanced Model Rocketry, Second Edition, compiled by Michael A. Banks. This book is published by Kalmbach Books and includes information about high power rocketry, scale, launch control systems, and many other things, including rocket-borne photography. The picture at left shows my Rastrocam. The picture at right shows an 'exploded view'. As you can see, it's a standard Estes Astrocam, only it's mounted upside down. I cut a piece of body tube from the carrier rocket and topped it with a Maniac nose cone. A length of elastic shock cord ensures it will stay with the camera. I glued a
  JT-55 stage coupler to the nose of the Astrocam to allow it to fit into the rocket's body tube and cut a notch in the coupler to serve as the shutter string holder. Since the regular shutter string is too short, I tied a
  length of shroud line to the Astrocam string. I drilled a small hole in the body tube segment, lined it up with the slot in the base of the camera, and passed the lengthened shutter string through to the other side.
For flight, I load the film into the camera following the instructions that came with the Astrocam. I then use electrical tape to seal the film door. I not only run tape along the long edges of the door, I also run a piece of tape around the join line of the camera and the nose cone's body tube. This tape makes sure that the body tube won't twist and bind the shutter string. (I suppose you could glue the body tube to the camera, but then it wouldn't be easy to replace if it gets banged up.) Make sure the string can move freely! A length of tape around the bottom completes the encapsulement of the camera. I attach the Maniac nose cone to the shock cord and put it on top of its body tube to complete the flight configuration. Well, not exactly... I also attach a 12 inch parachute to the shock cord attached to the base of the Rastrocam. Now, it's ready to go.
Rocket/Whoosh Generator Selection
For a carrier rocket, I've used both the Delta II and the Maniac. One of these days, I'll build a Fred Williams Astrocam carrier and try it. I've never gotten a usable photo from a regular Astrocam with the Maniac, since the delays aren't long enough, but a D12-5 and D12-7 have yielded ground shots with the Rastrocam every time. A D12-3 shouldn't be used, unless the rocket will be traveling almost straight up during the coasting period. If it's moving with any sort of groundspeed, you'll get blurred shots. I've gotten good results with B6-2, C6-3, and C6-5 WGs and the Delta II carrier. Don't use an A8-3! You can throw the rocket higher than it'll go on that motor.
Flight Prep
I don't recommend using cellulose insulation as wadding with the Rastrocam, unless you want to see a bunch of white streaks all over your photos... I use the 'toilet paper' type of wadding instead. I then insert the rocket's parachute and pack the Rastrocam's chute on top. Then, making sure that the safety shutter is closed, I cock the camera by pulling the string through the notches in the stage coupler and hold it tight while placing the Rastrocam on the rocket. Once it's seated, I can let go of the string. Then I place it on the launch pad, attach the clips to the ignitor, and open the safety shutter. Now it's ready to fire. Say "cheese!"
Rastrocam launch reports
Launch report: 8/27/95:
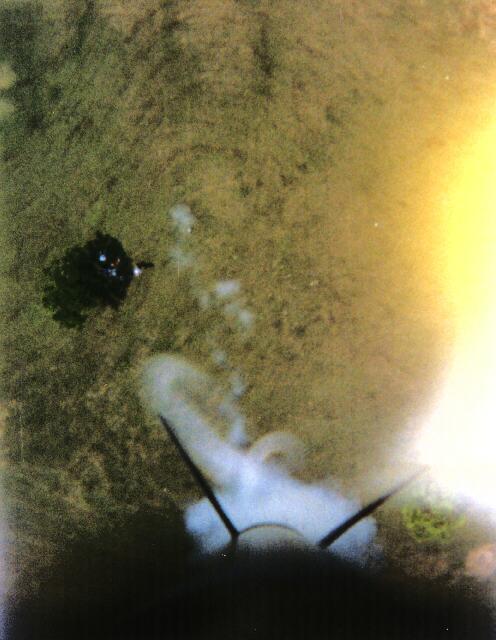
 Then we went into a string of camera flights. The Rastrocam/Delta II using a C6-3 yielded another shot (click for larger view) of the launch area. I'm pretty sure that I'm the white spot next to the shade, since I launched the rocket from that location. ...pack the tuna fish in mayonnaise... Jim caught the camera which came down much closer to the launch pad than the rocket, which I caught after it drifted about fifty yards away. Next up was the regular Astrocam on Delta II with a C6-5 WG. This yielded a wonderful close-up shot of a cloud... Then we stuck the Astrocam on the Maniac and flew it with a D12-5. The photofinisher didn't even bother to print the negative... It looked like another sky shot. I was pretty sure that would happen, since it didn't appear to us that it had arced over upon ejection. So I stuck a D12-7 in the Maniac and flew it again. ...microwave clothing... I thought this would have yielded a ground shot, but no... nothing but sky. The wind had started to swirl a bit, so Jim got faked out and missed the rocket, but I managed to catch the camera.
Launch report: 4/7/96:
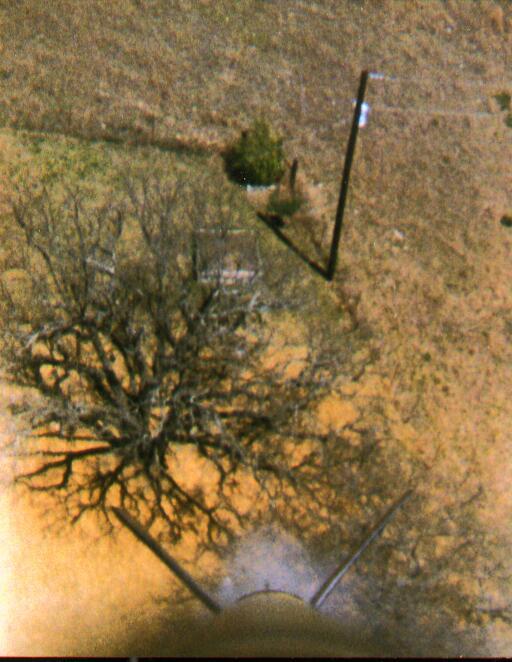
 I decided I would try for a different type of Easter family protrait by flying the Rastrocam on a Delta-II with a B6-2. The rocket took off and weathervaned a bit towards the southwest. I thought that the plastic fin unit had melted through and curled up, causing the rocket to veer off like that. Silly me. The camera was ejected on its own chute and landed safely, but the rocket was snared by a rocket-eating tree. Ironically, the Rastrocam photographed the rocket's captor. And of course, none of the family can be seen, since we're all somewhere below the bottom of the photograph... such is the fun of a rocket borne camera: you never know what you're gonna get. But I digress... we still had to get the rocket body out of the tree. Fortunately, I had brought Mr. Longarm just for this occurance. Unfortunately, the rocket was lodged out of Mr. Longarm's reach... so my brother climbed up into the tree and managed to reach the rocket with the pole... but he couldn't budge it. I attached my pocketknife to the end of the pole for a last ditch attempt. My brother finally managed to sever the shock cord and the rocket dropped to the ground.
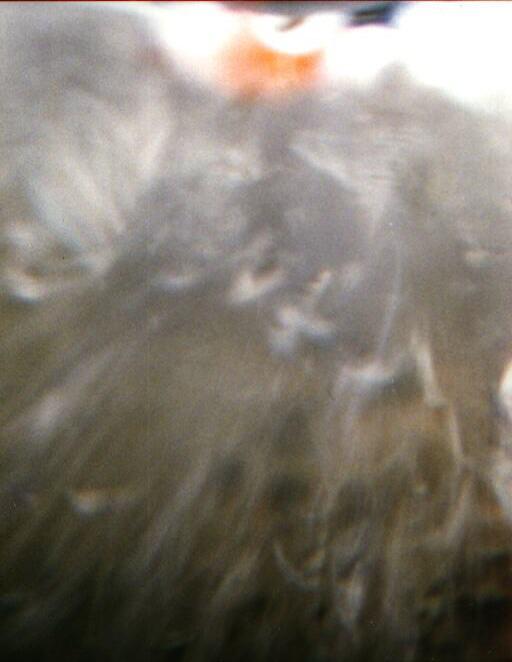
We rested a bit, then I wanted to try the Rastrocam on a Maniac. I shoved a D12-3 [what a moron! (film at eleven)] into the rocket, mounted the Rastrocam on it, and fired it off. It shot up and really took off towards the southwest. Apparently the surrounding hills were shielding us from a rather brisk breeze... Oh, and a 3 second delay isn't enough, folks... the rocket is traveling way too fast as evidenced by the photo. I think we're seeing the cellulose insulation I've begun to use for wadding as it's flying out of the rocket. [Note to self: Maybe it's not such a good idea to use this type of wadding when flying the Rastrocam.] And I'm pretty sure that the horizon is the bright area at the upper right of the photo.

Sponsored Ads
 |
 |


