Brief:
I wanted a cheap easy way of not loosing my reload cases, so I made a trip to hardware store, and came back with this. This is enough parts to make 4 retainers. I spent $1.99 for the smaller unit and about $2.50 for the larger one.
Construction:
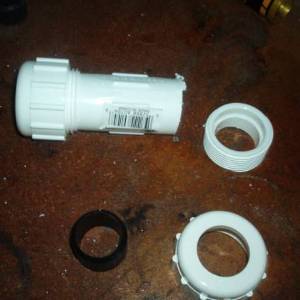
The top one is a ¾" compression fitting, while the bottom one is a ½" compression fitting. Which one you use depends on how large of cap you want showing, or will fit inside the end of your rocket. I use both. The ¾" for larger rockets and the ½" for smaller, and ones that I do not want it to be as noticeable. Now getting these to work takes just a little bit of work. I will start with the ½" unit as it takes a little more work.
Motor Retainer from ½" compression fitting.
Above is the picture of the ½" unit before I start (bottom one).
The first thing I do is cut off the threads from the fitting.
This leaves me with these parts to work with.
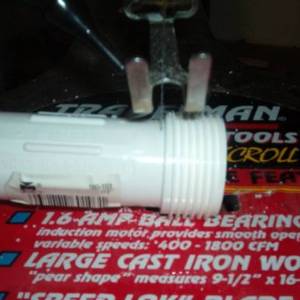
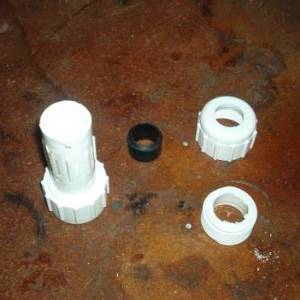
 One other step with the half is that there is a “lip" in the cap that restricts how far it goes on over the motor. This may cause a problem for the escaping engine exhaust, so I modify it as follows. Cutting the cap down, thus removing the “lip".
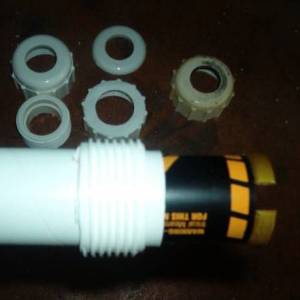 The depth is hard to see but you can see the finished cap, and notice the difference. I then take a dremel with sanding drum and sand out the inside of the threads unit until it fits over the 29mm tube.
After epoxing the threads on, and epoxing the cap back together you end up with something like this.
Motor Retainer from ¾" compression fitting.
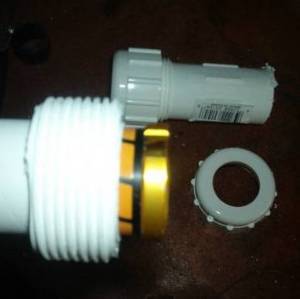
The ¾" unit is a little easier, once again start by cutting the threads. This should leave you with the parts shown.
Next take the dremel and sand out the inside of the threads until they fit over the 29mm tube. Then epoxy in place.
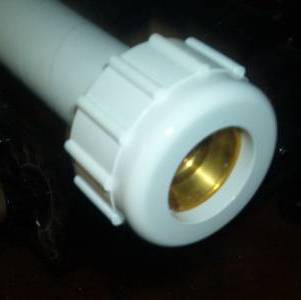 Then just screw on the cap that is it with the ¾" unit you do not have to modify the cap at all.
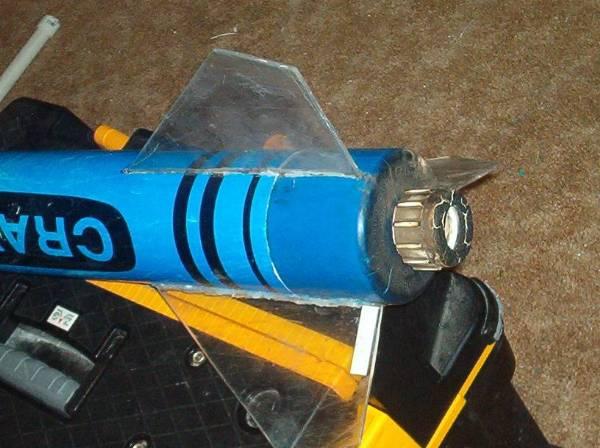
I used this on my Certification Level 1 flight with my 36" Crayon on an H128. Here is my Crayon with the larger 3/4" compression setup on 29mm. It has seen a number of flights, it is chared on the outside from "blast deflector blow back", but still fine on the inside and still works great.
