×
We have recently moved to a new server. If you run into any issues, please let us know through the Contact Us link at the bottom of the page. Thanks for visiting RocketReviews.
Model Rocket Building Blog 
Model Rocket Building Posts
Rocketry Product: Semroc - Centurion {Kit} (KV-40)
Refinishing the Centurion Part1 (2011-11-25) My Semroc Centurion has been through a lot! Once it was pulled from a puddle and water poured out of the upper tube. The forward edges of the fins were chipped and dented. The nose cone had two ... [Read More]
Refinishing the Centurion Part 2 (2011-11-28)The nose cone smilies were filled with the CWF mix of 4 parts CWF to 1 part water. Here it is after sanding to surface. After sanding the fillet areas, epoxy fillets were added. The fins were sanded ... [Read More]
Refinishing the Centurion Part 3 (2011-11-29)After fillets and a little sanding, here's the end result. I wouldn't normally use epoxy on a low power model, but I was happy with the look. There's a little orange peel in the finish, but that ... [Read More]
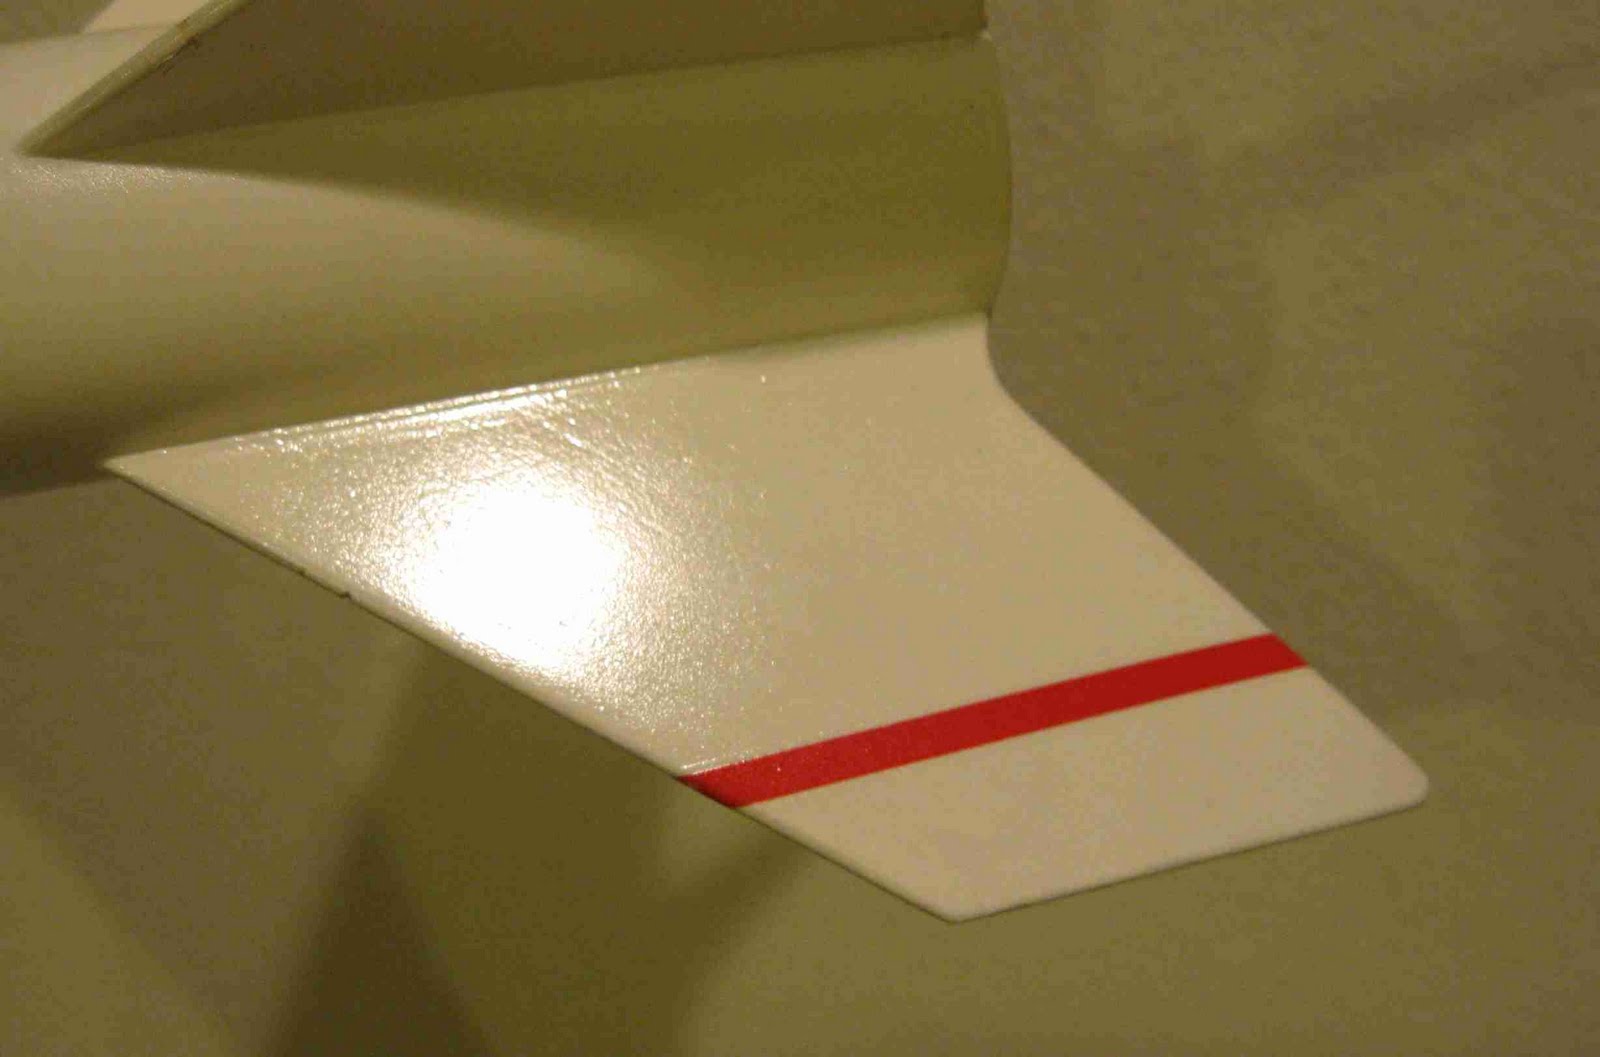
Refinishing the Centurion Part 4 (2011-11-30)I wanted to add stripes down the body sides like Centurion had in earlier Centuri catalogs. They were cut from red electrical tape and laid down the body tube. It took a few tries to get them ... [Read More]
Semroc Booster 16 in the Centurion (2012-02-22)The old Semroc Centurion was refinished recently. I wanted to use the Semroc Booster 16 I built and reviewed three years ago HERE While I now cover the open back areas of rockets so paint won't get ... [Read More]
Semroc Centurion with the Semroc Booster 16 (2012-03-09)I'd refinished my Centurion a few months back - epoxy fillets, new paint, decal and trim. That Semroc Booster 16 has been sitting on the shelf for two years. I finally got some 13mm A10-0t engines ... [Read More]
Centurion Re-Build AGAIN! Part 1 (2012-05-11)The leading edges of my Semroc Centurion fins were badly nicked up after going straight into a tree. It's normally very stable but this time was staged using the Semroc 16 Booster. High ... [Read More]
Centurion Re-Build AGAIN! Part 2 (2012-05-12)The pieces are set into the recesses and medium CA glue touched onto the joints. This allowed the glue to run into the seam. Sand the edges to match the rounded edges of the fins. a block is used to ... [Read More]
Centurion Re-Build AGAIN! Part 3 (2012-05-14)I wanted to keep the primer only on the fins. A piece of card stock was held near the root edge to keep the primer off the body tube. The top of the body tube had a bad crease. The dents were filled ... [Read More]
Centurion Re-Build AGAIN! Part 4 (2012-05-15)I didn't want to remove any more of the red electrical tape trim than I had to. Masking tape was set down over the red trim, but the edges weren't burnished down. This way ... [Read More]
Centurion Autopsy (2013-01-14)My Semroc Centurion has been through the wringer! A few years after the initial build, it got epoxy fillets and a repaint. Flights were good for a while. Recently, after a bad two stage attempt it ... [Read More]
Centurion Project Part 2 Cosmic Explorer Engine Mount (2013-03-14)I'm building the Estes Cosmic Explorer first. While my focus will be on the interchangable engine mounts in the Semroc Centurions, this post is about the Estes Cosmic Explorer engine mount. I had ... [Read More]
Centurion Project Part 3 Cosmic Explorer Engine Mount (2013-03-15)With the new position of the rings, the rear ring was set back to about 7/16" from the rear of the engine mount tube. The notch for the engine hook was now too small for much hook movement at ... [Read More]
Centurion Project Part 4 Cosmic Explorer Fin Fitting (2013-03-16)The upper fin shows the gap at the root edge before sanding down the TTW tab a slight bit. It won't take much, make a few passes with a sanding block and check the fit. The inset picture shows ... [Read More]
Centurion Project Part 5 Cosmic Explorer Fin Primer and Gluing (2013-03-16)The fins are test fitted in the TTW slots. Even with the slight thickness of sanded wood filler (CWF) it was a tight fit getting the fins seated. I'm not gluing the fins in place yet. The slots ... [Read More]
Centurion Project Part 6 Cosmic Explorer Paint (2013-03-17)The Titebond M&TG fillets had some slight ridges you could see once the white paint was applied. To sand the tight angle in the root edge wrap some 400 grit around the end of a Q-Tip. The ... [Read More]
Centurion Project Part 7 Cosmic Explorer Decals (2013-03-19)The Estes instructions are very vague about the red stripes decals and their placement. The face card barely shows the long red stripe down the lower white body tube. For a better ... [Read More]
Centurion Project Part 9 Cosmic Explorer Fin Decals (2013-03-22)The edges can be trimmed off with a new razor blade. Use a light touch, just enough to cut the decal film and not into the fin. The trimmed fin decals leading edge is at the top. The inset ... [Read More]
Centurion Project Part 10 Cosmic Explorer Upper Body Paint Problems (2013-03-23)I should be done with this model by now! I had problems with the Rusto 2X Gloss Black. I did my regular two light coats followed by a heavier "wet" coat. The final thicker coat crazed and ... [Read More]
Centurion Project Cosmic Explorer Finished (2013-03-24)While I still like the wider girth of the original Centuri (Semroc) Centurion, the Estes Cosmic Explorer looks good. I don't like the Dymo Letter Maker font name decal and the fins ... [Read More]
Centurion Project - Part 1 Interchangable Motor Mounts (2013-03-29)Before I start the next build, check out this past blog post about Marc Goldstein's interchangeable motor mounts: HERE I'm using his locking, interchangeable motor mount design on my Semroc ... [Read More]
Centurion Project Part 2 Engine Mount Parts (2013-03-30)Here's the rings and motor mount tubes for the three engine mounts. From left to right: Single 18mm, Two engine 18mm and the single 24mm parts. These two engine cluster rings are available ... [Read More]
Centurion Project Part 3 Baffle (2013-04-01)Jumping ahead a bit to the Semroc baffle, included in the Centurion kits: Be sure to coat the punched plates with white glue. The left side of the picture shows the amount of glue applied ... [Read More]
Centurion Project Part 4 Engine Mount Block (2013-04-01)The interchangeable mounts will need something to stop the forward movement of the mount, the same way a engine block stops an engine from thrusting right through the top of the body tube. An engine ... [Read More]
Centurion Project Problem (2013-04-04)I'm suspending the build of the interchangeable mounts in the Centurion build. The mount design would have allowed a single 24mm, single 18mm, 2x 18mm cluster and a 3x 18mm cluster confi ... [Read More]
Centurion Project Part 5 2 Engine Cluster Mount (2013-04-07)Even though the interchangeable engine mounts didn't work out, I'm still posting the assembly. (I've got to fill this blog with something!) A new builder might pick a few ideas. The two engine ... [Read More]
Centurion Project Part 6, Dowel Locks (2013-04-08)The mounts will be held in place with short "half dowels". To cut and sand off one half side a marker line was made down the length of the dowel. When sanding to the half round shape, the black ... [Read More]
Centurion Project Part 7, Dowel Locks (2013-04-09)Here's how the dowel locks were glued in place using the 24mm mount. The mount was slid in. Pencil marks were made where the centering ring was punched. The half dowel was slid into the punched ... [Read More]
Centurion Project - Letter from Marc Goldstein and his Successful Flights (2013-04-09)Apparently, I shouldn't have assumed there might be problems with Marc Goldstein's Interchangeable Engine Mount Design. Marc sent me a note through The Rocketry Forum: Hi Chris! I read with interest ... [Read More]
Centurion Project, - It's Back! Part 1 Background (2019-07-04)This next build will feature a great interchangeable engine mount design - I always liked the Centuri kit, the Centurion. It was Centuri's version of the Estes Big Bertha, but a ... [Read More]
Centurion Project, Part 2, Parts (2019-07-06)Here's the parts from Semroc, minus the engine mount. Looks like I had already assembled the Centuri style ejection baffle. Two 12" Semroc parachutes were included in the kit. All the parts for the ... [Read More]
Centurion Project, Part 3, Semroc EM Instructions (2019-07-08)In order for the locking basswood strip to work, the positioning of the centering rings is critical. Here's step nine from the Semroc instructions. The rear ring is glued 3/8" from the rear of the ... [Read More]
Centurion Project, Part 4, Dual 18mm Engine Mount (2019-07-10)The inside edges of the engine mount tubes got a wipe of medium CA glue before assembly. Notice here I am also applying CA just over the edge of the tube. Light sanding follows with 400 grit. On the ... [Read More]
Centurion Project, Part 5, Single 24mm Engine Mount (2019-07-11)I only had a Estes style BT-50 sized engine block. It was too loose a fit in the Centuri ST-9, 24mm engine mount. The outside diameter was built up using a copy paper wrap strip. Glue was applied ... [Read More]
Centurion Project, Part 6, Fin Fix (2019-07-12)One fin had a broken tip on the trailing edge! The old Centuri instructions suggest sanding an airfoil shape to the fins after they are glued onto the body tube. The Semroc instructions say: "Round ... [Read More]
Centurion Project, Part 7, Fin and Body Tube Fill (2019-07-13)The body tubes got the standard CWF seam fill and sanding. On the left is the rough cut body tubes joined by a coupler. The tube cuts aren't great. True it up with a sanding block. The picture on ... [Read More]
Centurion Project, Part 8, Fin Gluing (2019-07-14)These pictures are of the Estes Cosmic Explorer, the slightly down scaled version of the Centuri Centurion. The Estes Cosmic Explorer (BT-55) has through the wall fins, the root edge of the fins ... [Read More]
Centurion Project, Part 9, Ends & Edges (2019-07-15)The larger Centurion has two 3/16" launch lugs. On the left is a typical applied line of glue. TIP: On the right I've placed my thumb and index finger into a "V" shape. This V is run down the glue ... [Read More]
Centurion Project, Part 10, Black and White Paint (2019-07-16)This is a very easy model to paint, the low end is white, the upper tube and nose cone are black. TIP: Always think ahead when assembling a rocket. The instructions tell you to glue the two body tube ... [Read More]
Centurion Project, Part 11, Edges and Decals (2019-07-17)I'll be bouncing back and forth between the finishing and decals on the Semroc Centurion and Estes Cosmic Explorer. If you see the model name at the top of the paragraph, that's the model I'm ... [Read More]
Centurion Project, Part 12, More Decals and Trimming (2019-07-18)Here's the decals from the Semroc Centurion kit - not nearly as many as red stripes as supplied with the Estes Cosmic Explorer. CENTURION: The original Centuri kit did have a red stripe running down ... [Read More]
Centurion Project, Part 13, Tying It All Up! (2019-07-19)CENTURION: I glued the baffle into to the (shown upside down here) upper body tube. There is a pencil mark at the halfway point. The other lines are leftover paint lines when the model was spray ... [Read More]
Centurion Project, Finished! (2019-07-20)For comparison - This is the Estes Cosmic Explorer - leaner, longer nose cone and a bit shorter. 1.35" diameter, BT-55 Here's the (Centuri) Semroc Centurion, the real subject piece for this ... [Read More]
Launch! Schoolyard Soccer Field, July 20, 2019 (2019-07-21)My alarm went off at 6:45 a.m., I headed for the soccer field by 7:00. Clear skies - no winds! Early is the only way to beat the heat. The indestructible Estes CURVILINEAR was a great first ... [Read More]
Centering Rings - DIY! Part 1 (2013-03-25)I need some "non-standard" centering rings for an upcoming build. A series of three interchangeable engine mounts will be made for a Semroc Centurion. I don't use BT-20 tubes for 18mm engines, they ... [Read More]
Purposefully Under-Powered Rocket Motor? A8-3?!! (2014-06-18)On TRF, Kirk G posted: "So, after a couple of months of waiting, the Big Bertha kit is complete (or as much as the yellow base coat is going to get), and the weather is fine, clear, hot, sunny, NO ... [Read More]
Sponsored Ads


")


